 June 25, 2010 in, , by Rufino
Creating A Space Ship In 3ds Max (Session 1)
( Autodesk 3dsmax 2010)
Here we will be begin to cover the modeling of a space ship in Autodesk 3ds Max. This is part 1 of a 2 part series. In this installment box modeling, soft selection, plugins and the use of modifiers will be covered. A general understanding of 3ds Max is needed for this tutorial. Topics covered in this tutorial can be applied to modeling a wide array of objects.
In this tutorial, I start by modeling both sides of the ship. About half way through, I stop modeling the other side of the ship, because we will mirror the other side, making it match perfectly.
Ryan W. Knope is a freelance 3D / 2D Artist / Consultant with 13 years experience in the 3D and 2D industry. His main artistic love lies with interior and exterior rendering although he takes on just about every type of graphics work. Ryan is also the architectural / interior voice for 3D Artist Magazine’s Question and Answer Panel. wife Krista, in sunny Denver, Colorado.
Tutorial Details
- Programs: Autodesk 3dsmax 2010
- Difficulty: Medium (Prior Knowledge of 3dsmax interface and tools is a plus.)
Step 1: Starting As A Box
Start by creating a box. Add as many segments as you feel you need to create the base detail and shaping. I have added several segments for each side. It is also wise to work in scale. Make sure you have the units set to what you prefer (Standard or Metric).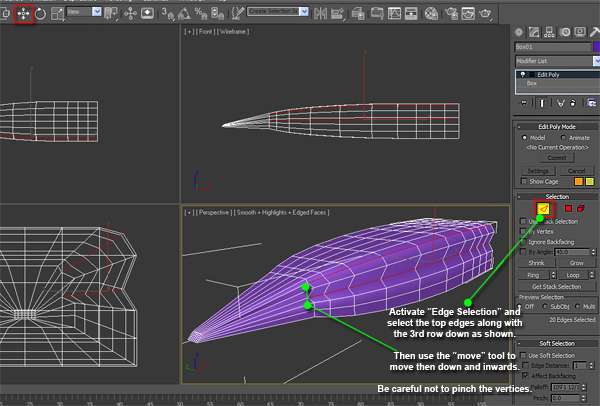 This boxes size will make up the bulk of this space ship.
Step 2: Deforming The Nose
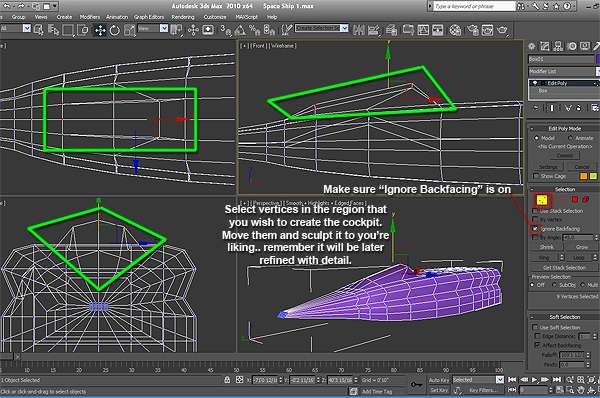
Apply "Edit Poly" to the segmented box. You can find it under the "Modifiers Tab". Activate the "Vertice" selection mode and turn on "Soft Selection". Soft selection will create a blended range of deformation as you scale the vertices. To change the blend amount, change the falloff value. You can also experiment with "Pinch" and "Bubble".
I selected and scaled down only the front vertices, setting the falloff as shown below.
Step 3: Nose Shaping
In this step I have pulled the nose out further without soft selection. I have also selected side edges and moved them inwards and downwards. Start by activating the "Edge Selection Mode" and move the edges to the desired location. You have to be careful not to pinch the model. I did not use soft selection in this step. You can use soft selection is you prefer a more organic looking ship.


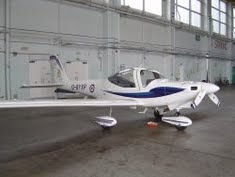 The Grob G 115 is an advanced general aviation fixed-wing aircraft, primarily used for flight training. It is built in Germany by Grob Aircraft (Grob Aerospace before January 2009).The E variant with a 3-blade variable pitch propeller is in Royal Air Force service...