
Hello again! I have been recently experimenting and working with mental ray and v-ray renders in both 3ds studio max and Autodesk Maya. For this tutorial I will be teaching you guys some basic modeling, easy rendering techniques using mental ray and creating textures in Photoshop to be used in 3ds max.
V-ray and mental ray both give you very realistic renders depending on what you want to achieve.
Let’s begin.
Step 1: Modelling the base of the phone.
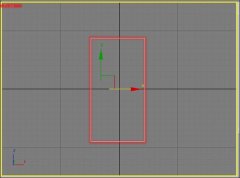
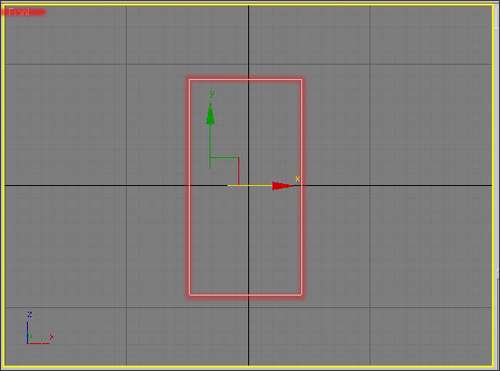
Open up 3ds max. Go to create tab, chose Splines, and then hit Line. Create a rectangular shape in the front view port.
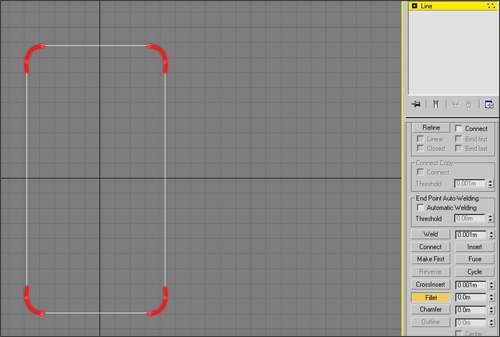
With the shape still selected hit 1 to enter vertex mode. Select Fillet and refine the corners of your rectangular shape.
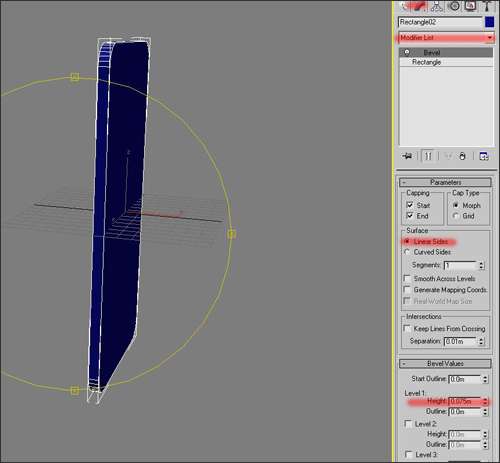
 Step 2: Bevelling the shape.
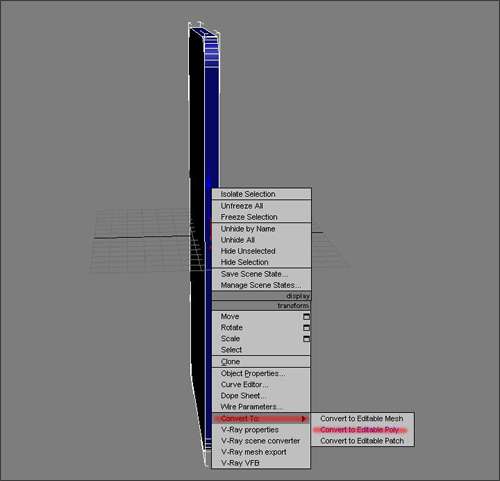
Now with your shape still selected we will go ahead and apply a bevel modifier. Right click and convert the object into an editable poly.
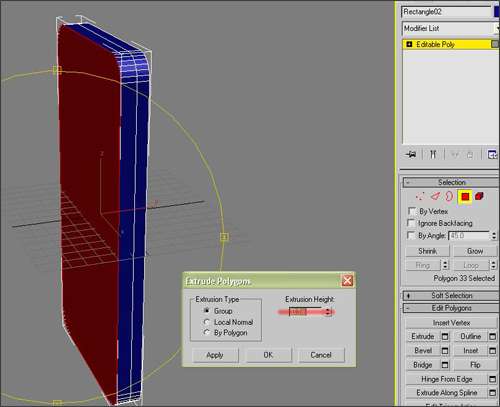
Hit 4 to enter a face mode. Extrude and scale the face.
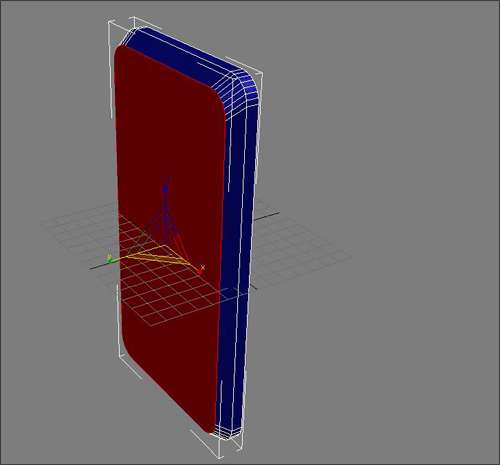
Create, extrude and duplicate the Line splines to create a model like the preview below.
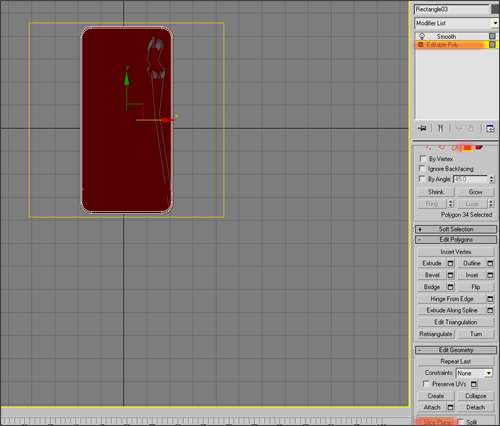
Step 3: Slicing the polygon face.
Let’s slice the polygon face to create the screen and a section to accommodate the keys.
Select your top polygon.
Hit 4 to enter the polygon face mode.
In the top view, with your polygon face still selected, select slice plane.
 A yellow box will appear around your model. Right click and select rotate.
Hit F2. This helps you slice accurately.
Rotate the yellow box and hit Slice to create a slice similar to the preview below.
Step 4: Adding details.
Using your line tool, create line shapes with refined corners like we did in step 1.
Apply a bevel modifier to it to give it more depth. Clone and scale one of the key shapes
to create a shape for the speaker.
Add more details to make it look realistic using the line spline and extrude techniques.
Place and arrange all your shapes like the preview below.
Step 5: Creating textures.
We will be creating a simple texture for our speaker in Photoshop.
Open up Photoshop. Hit Ctrl + N.
Apply a gradient to the background. Create a new layer, make small black circles, duplicate and arrange them.
Give it a name and save as a jpg. Now go back to studio max and let’s assign a mental ray renderer.
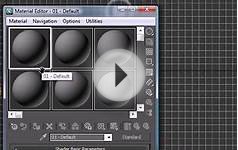
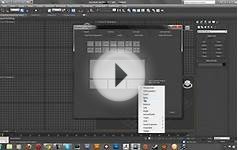
Step 6: Assigning a renderer.
Hit F10 to bring up the render scene menu.
Scroll down and select assign a renderer. By default mine is already set to mental ray.
Click the dotted box next to it to change it to mental ray if yours isn’t.
Step 6: Assigning Materials.


 The Grob G 115 is an advanced general aviation fixed-wing aircraft, primarily used for flight training. It is built in Germany by Grob Aircraft (Grob Aerospace before January 2009).The E variant with a 3-blade variable pitch propeller is in Royal Air Force service...