How to Create Abstract Colorful Swirl Waves Background in Adobe Photoshop CS5
In the following Quick Tip tutorial you will learn how to use Ellipse Tool, Brush Tool, and Gradients in Adobe Photoshop CS5 to create abstract swirl waves background. You can use these techniques and elements to create your own abstract background for tablet or smartphone! Layered PSD file included. Let’s get started!
Final Image Preview
Start working by creating a new document (Ctrl+N) in Adobe Photoshop CS5 with the size 1920px by 1200px (RGB color mode) at a resolution of 72 pixels/inch. Use the Paint Bucket Tool (G) to fill with black color the new background layer.
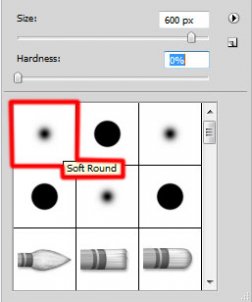
Create a new layer and select the Soft Round brush from Brush Tool (B).
 Use this brush to paint the canvas with #63FF7B (set Opacity to 20% in Options bar)
On the next new layer we’ll apply the earlier mentioned brush to paint the canvas with the color #090C3C.
Create a new layer and select the same Soft Round brush to continue painting the canvas in #0070A2 color (brush Opacity – 15%).
We’ve got the next result:
Create a new layer and select the brush mentioned earlier and use it with the color #A176FF (brush Opacity – 15%) to paint the background.
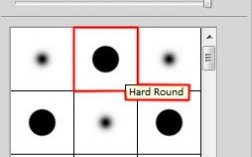
On the next new layer we’ll represent several small circles. In this case we’ll use the Hard Round brush and the white and green colors. Select the brush of different diameter with a different Opacity value.
Now we’ll insert the ellipses – each one on a new layer. Apply the Elliptical Marquee Tool (M) to represent the ellipse and the Paint Bucket Tool (G) to fill it out.
Use on the ellipse’s layer the next filter: Filter > Blur > Gaussian blur.
Set the Blending mode for this layer to Overlay.
Create a new layer and represent a small circle of the color #524F17. It may be represented applying the previous method.
Apply on the layer with the circle the next filter: Filter > Blur > Gaussian blur.
Set Fill to 38% for this layer.
Create a new layer and select on it the earlier used tools to represent the next circle of the color #524F17.
Insert the mask on the previously made layer by choosing Add layer mask on the bottom part of the Layers panel and choose the Soft Round brush of black color.
Paint in the mask using this brush to hide the central part of the circle.
Set Fill to 20% for this layer and set the Blending mode to Divide.
Make a copy of the recently made circle’s layer and select Free Transform (Ctrl+T) command to place the copy on the central part of the original circle, changing also its sizes.


