Within Apple's iOS there's a linen texture that lurks behind everything.
Double-click the home button on your iPhone to bring up the multi-tasking bar, or create a folder on your home screen and you'll see a soft, elegant, dark linen texture. It is one of the many things in the iOS that helps to give the environment a warm, human feel.
This texture can be found elsewhere in the iOS and has popped up all over the web, as tends to happen with things Apple designs (see: aqua buttons).
This fabric look is pretty easy to achieve in PhotoShop.
Document setup
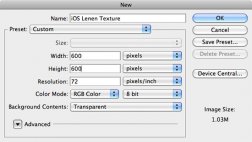
First order of business is to create a fresh PhotoShop document. I’m going to start at 600 x 600 px in size. We’ll be trimming some of this down in the end to get what we need, so make your document bigger than what your final size needs to be. Here’s my new document window:
 Creating a base
With our blank canvas created let’s get to making our linen. You’ll need to pick a base color for your iOS style fabric. Your final result will vary a little from what you start with. So you may have to play around with it a bit.
After you’ve picked out a color, create a new layer and name it ‘Base.’ Fill this ‘Base’ layer with your selected color. I used #767676 as my base, which is a medium shade of gray.
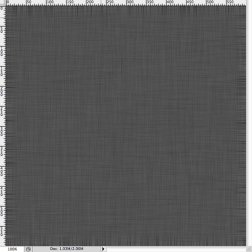 The next step in the process is creating the grain which we’ll blur out eventually to create a nice thread-like look.
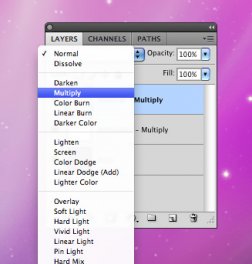
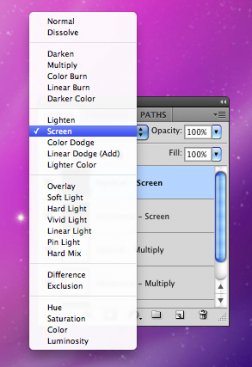
Create two new layers and name them: ‘Horizontal - Multiply’ and ‘Vertical - Multiply.’ Fill both new layers with white.
On both of these two layers we’re going to add noise. We’ll start with the ‘Horizontal - Multiply’ layer. Go to the Filter menu and choose Add Noise from the Noise sub-menu (I’ll represent menu choices like this from now on: Filter>Noise>Add Noise…).
 You’ll get a window that looks much like this. Your default values may look different but we’ll change them soon.
For this layer we’ll use the above settings (Amount: 65%, Uniform and Monochromatic). After you’ve adjusted these settings click the OK button to apply them to your layer.
We’ll do the same thing for our ‘Vertical - Multiply’ layer. The only difference will be the Amount of noise we add. You’ll want to choose something different from your first percentage, which was 65%. Vary it a little, but not too much. Try something like 70% or 60%.

