Step 1: Setting Up the Document
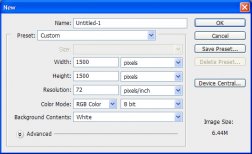
Create a new Photoshop Document (File>New) to be 1500 x 1500px.
Step 2: Adding Background Color
Select a dark brown color and Fill the canvas with it. For this image, I used #5a3222.
Step 3: Adding a New Layer
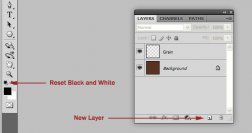
Create a new layer and name it ‘Grain’. Before we do anything to this layer, make sure your colors are reset to black and white.
Step 4: Rendering Clouds
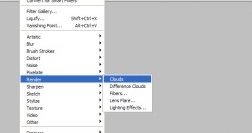
Add some clouds to this layer by going to Filter>Render>Clouds.
Your image should resemble the following:
Step 5: Stretching It Out
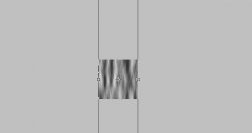
Transform (Cmd/Ctrl+T) the height of the ‘Grain’ layer by 600%.
 Step 6: Blurring It Up
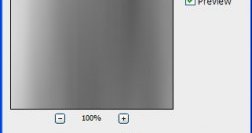
Add a strong Motion Blur (Filter>Blur>Motion Blur) to the ‘Grain’ layer. I used a setting of 236px
Your image should now look like this:
Step 7: Posterizing Magic
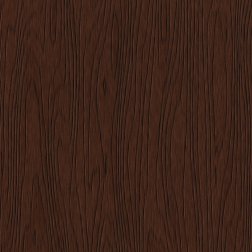
This next step is what makes this texture possible. Go to Image>Adjustments>Posterize and set it to 25 Levels. You can see that our image has some good separations that we will use to create wood grain.
Step 8: Making the Grain
To get the wood grain to show, go to Filter>Stylize>Find Edges.
You’ll notice that we have a pattern that resembles wood grain, but it’s not quite there yet. Let’s darken this layer by adjusting its Levels (Ctrl/Cmd+L) :
Step 9: Adding Noise
 We want to add some texture to the grain (as well as break it up). To do this, go to Filter>Noise>Add Noise and set the Amount to 65%.
Step 10: Blurring the Lines
Next, go to Filter>Blur>Motion Blur and give it the following settings:
Step 11: Setting Up for Depth
This next step is optional, but if you want to add some depth to the wood grain, then we need to set it up now. Go ahead and make a copy of the ‘Grain’ layer and rename it to ‘Specularity’ (this will become our specularity map). Position the layer as shown below (you can hide this layer since we wont need it just yet):
Specularity:
Those who have used 3D software will recognize this word. It simply refers to a specific kind of highlight—usually a very focused spot of light on an object. A Specularity map is just an image that defines where the specular highlights go.
Step 12: Finishing up the Wood
Set the Blending Mode of the ‘Grain’ layer to Multiply. At this point, you have a finished wood texture. However, we can continue from here and add some depth to the wood grain using the ‘Specularity’ layer.
Step 13: Working with Specularity
Now, let’s start to refine the ‘Specularity’ layer. First, hide the ‘Grain’ layer and make the ‘Specularity’ layer visible

