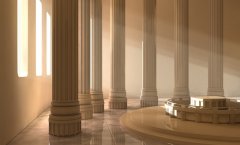
 This tutorial will help you create great-looking, volumetric lights in 3DS Max. In the real world, this effect is visible when there’s a lot of dust in an enclosed space. The tutorial also skims through basic interior lighting techniques, without going into too much detail. Enjoy.
1/4 The Scene
We’re using an old 3D doodle that we found loitering about on our HDDs. You can download it here (you can also download the completed scene at the end of the tutorial):
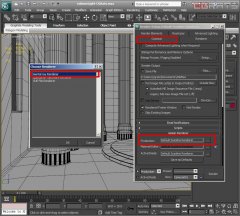
Import the FBX file and let’s get started.
2/4 3DS Max Interior lighting
We need to enable mental ray. Open 3DS Max’s Render Setup window {“F10“}, scroll down the common tab and assign the mental ray renderer to the production slot.
First of all, we need to make sure that the interior is lit “from the outside”. Switch to the perspective view {“p}. Go to 3DS Max’s Lights { } / Standard tab and place a Skylight anywhere around the box.
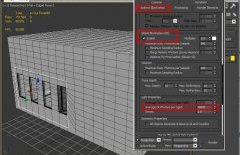
Switch to the Back view. Click the Lights drop-down, switch to Photometric {fancier lights} and place a mr Sky Portal precisely over the 3 openings.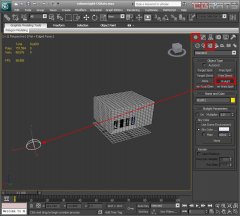 obal Illumination. Open up the Render Setup window {“F10“} again and click the Indirect Illumination tab. Scroll down to the Global Illumination tab and enable it. Also set the Photon number to at least 40.000.
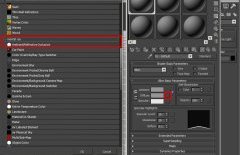
To bounce the light particles around even more we need to setup the all so familiar Ambient/ Reflective Occlusion map. Open up 3DS Max’s Material Editor {} and select an empty slot. Set the Specular level to 10.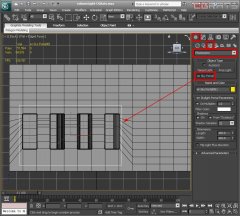 se a light-yellowish color. Set the Shadow Samples to 64 {less grain} and apply {} the material to all the objects.
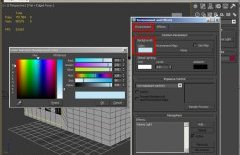
Press the “8“ key and set the Background color to a bright blue.
Switch to the Camera view {“C”} and render the scene. It should look something like this:
If it looks like the spawn of Beelzebub himself, make sure that the mr Sky Portal is outside of the box and not intersecting anything.
3/4 The Volume Light
Switch to the top view. Go to 3DS Max’s Lights tab {} again, and place a “standard” Target Direct light. Make sure that the shadows are on and set to Ray Traced Shadows. Also, be careful so that it intersects the windows and that its length exceeds the box’s.




 The Grob G 115 is an advanced general aviation fixed-wing aircraft, primarily used for flight training. It is built in Germany by Grob Aircraft (Grob Aerospace before January 2009).The E variant with a 3-blade variable pitch propeller is in Royal Air Force service...