 In today's tutorial, Ben Henry walks us through how he sets up Depth of Field (or DOF) in his renders using 3Ds Max and Vray. After covering the camera settings and adding DOF to the scene, Ben also takes a quick look at how to add Bokeh effects to your final render. If you're looking to create more photo-realistic results with 3Ds Max, look no further than today's Quick-tip.
Step 2
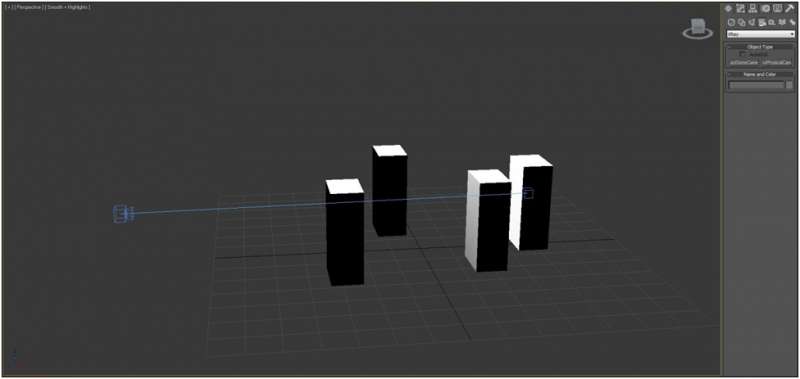
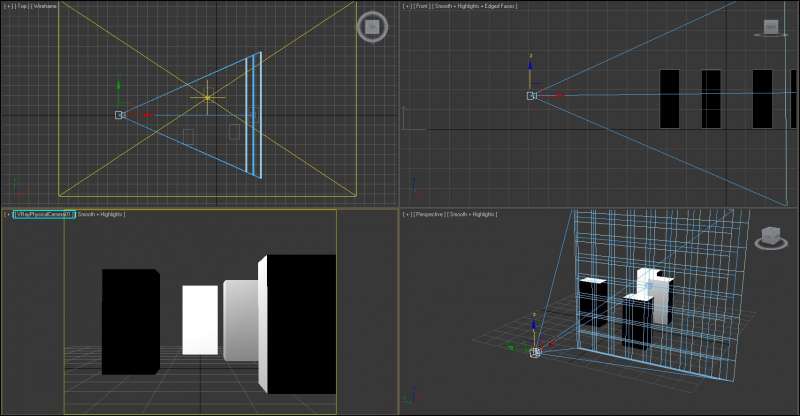
In order to test the DOF we need to out together a test scene. Head to the Create panel, select Geometry, and place a few boxes a little like I've done in the image below.
 Step 3

Next, click on the Cameras button in the Create panel, click the Standard roll-down menu, click V-ray, and then create a VrayPhysicalCamera. Once created, move it into position as show, making sure that it's aimed at your objects, and that the target is where you want your focus to be.
Step 4
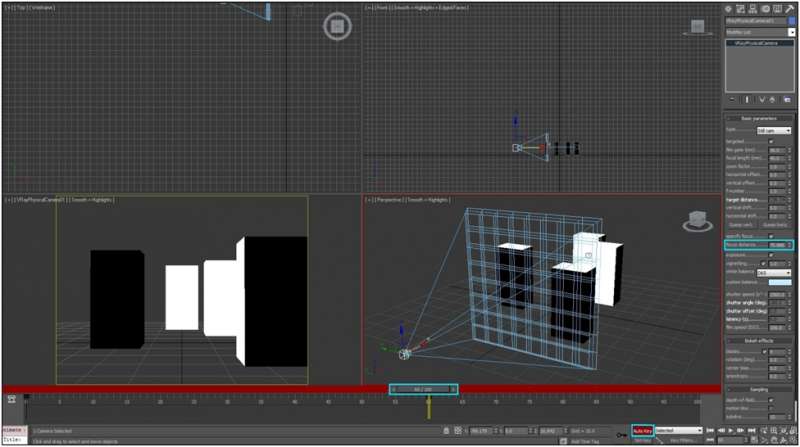
Next we are going to go in and change the settings on our camera. Select the camera, and go to Modify. Here we will set the F-Number to 1, the Shutter Speed to 1000, and then check the box that says Specify focus, which allows us greater control over the focal planes of the camera.
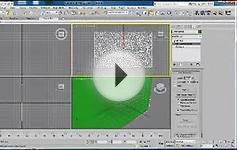
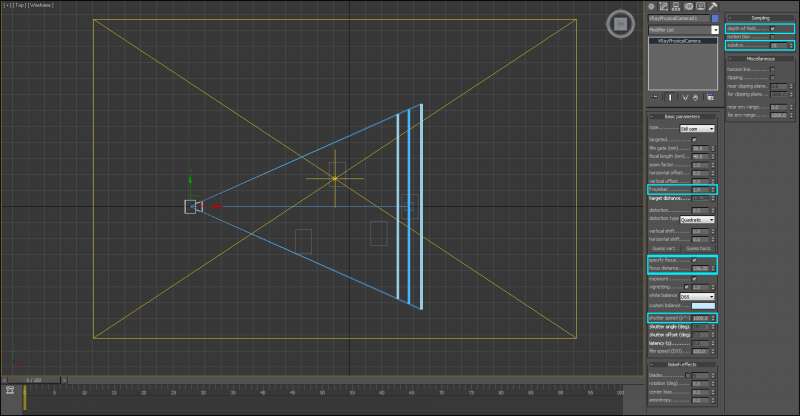 Change the Focus Distance value until the blue grids in the top viewport are in the section you want to focus on. Then go down to the Sampling parameter and check the box next to Depth of Field, setting the Subdivs to 15.
TIP : Changing the Subdivs will make the depth of field effect smoother. The higher the number, the smoother it will be, but the longer it will take to render.
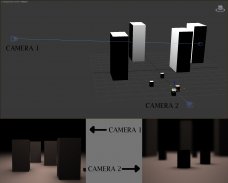
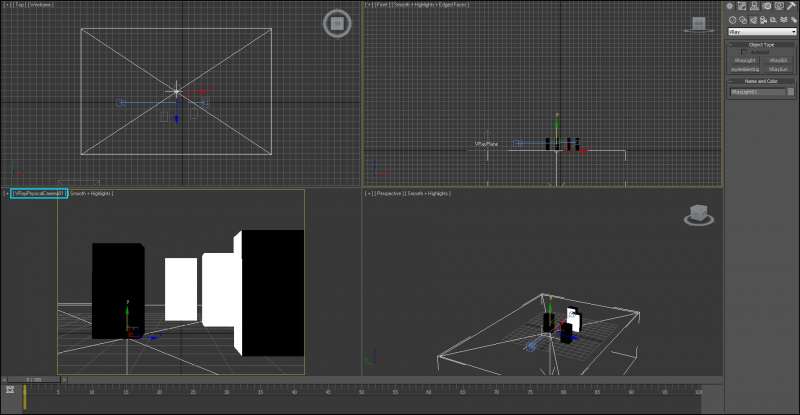
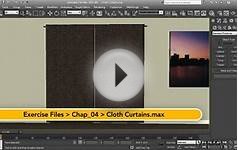
TIP 2 : The smaller you make the scene, the blurrier the depth of field will be, as shown in the image below. If your scene is far too big you might have trouble getting the depth of field effect at all. In essence, always try to scale your scene realistically.
 Step 5

Make your left viewport the camera-view by clicking Left > Cameras > VrayPhysicalCamera01. Now adjust the position of the camera using the other viewports until you get something you like!
Step 6
To create a Rack Focus effect (changing the focus point from one object in your scene to another over time), you can animate the Focus Distance parameter in the camera settings. Click Auto Key to create a first key for the value, and then move the timeline to frame 60 (2 seconds at 30fps) and change the value of the Focus Distance until the grids are where you want the camera to focus on at the end of the move. Now make sure to turn off Auto Key so you don't accidentally animate any more values!
Step 7
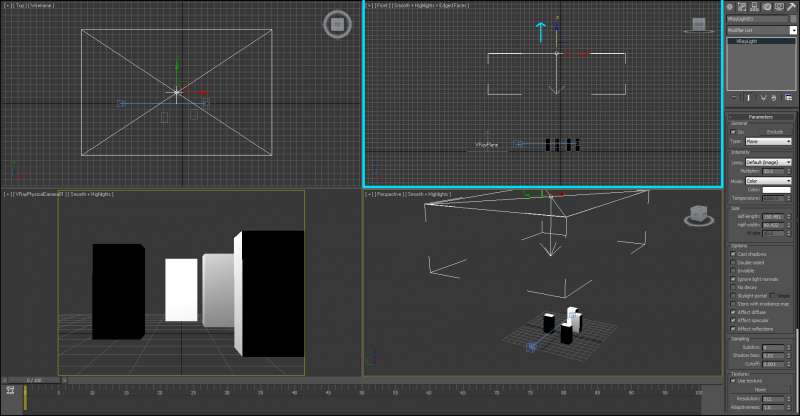
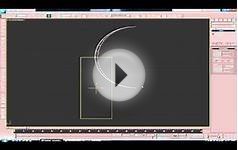
Now make a Vraylight in the top viewport by clicking Create > Lights >Vray and then choosing Vraylight. Make it as big as your scene. Then, in the camera viewport, click the VrayPhysicalCamera text and turn on Show Safe Frames.


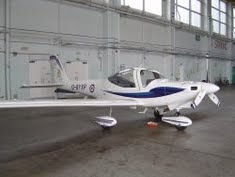 The Grob G 115 is an advanced general aviation fixed-wing aircraft, primarily used for flight training. It is built in Germany by Grob Aircraft (Grob Aerospace before January 2009).The E variant with a 3-blade variable pitch propeller is in Royal Air Force service...