 Where 3d product visualization is concerned, one of the most important techniques for achieving realistic high quality images, is your ability to create studio renders. In this detailed 4 part tutorial you will learn every step necessary to create your own high quality studio renders with Vray and 3ds Max.
This tutorial is divided in 4 parts: Scene setup, materials, lighting, and rendering. In the first part, we will set up the scene, create a base, and import our models, in the second part, we will be assigning materials and using Vray lights to light our scene, and in the last part, we will adjust the Vray settings for the final render.
Note: This is a lighting and rendering tutorial. You will need to supply your own model in order to follow along.
 Step 1
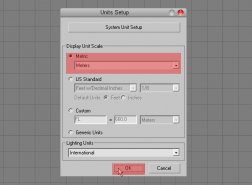
Open 3ds Max and set our scene units to meters by going to "Customize>Unit Setup>Metric>Meters.
Step 2
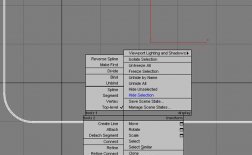
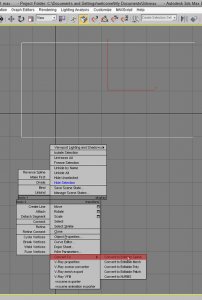
Now lets create an environment for our scene. Create a "C" shape with the line tool and convert it to an editable spline.
Step 3
Select the corner points and choose "Fillet" with a .187m value. Also, set the "Interpolation Steps" to 10.
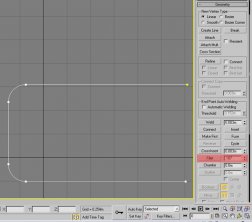 Step 4
Select the line again, and in the rendering tab, check "Enable in Viewport" and "Enable in Renderer". Select "Rectangular" for the type, and enter the values shown below.
Step 5
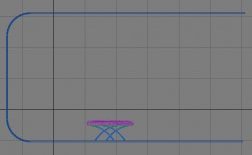
Now convert the line to an editable poly, and your base for the lighting setup is done.
Step 6
Import or merge your model, and scale it according to the size of the base. In my case i am importing a furniture model.
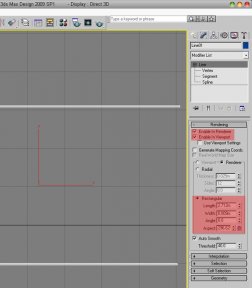 Step 7
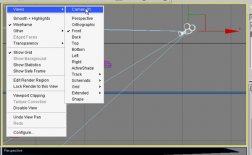
Create a free camera in the front view. Now, click on the top left side of the view port, go to views, and select the camera view.
Step 8
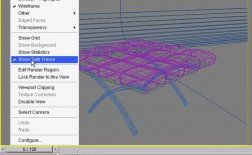
Enable the safe frame, and adjust the camera according to your scene and model.
Step 9
Press f10, and under production, choose Vray from the assign renderer tab. This will enable Vray as your renderer, and also enable Vray materials in the material editor.
Step 10
Press 'M' to open the material editor, then click standard, and then Vray mtl. The VRayMtl is provided with the V-Ray renderer. This allows for physically correct illumination in the scene, faster rendering, and more convenient reflection and refraction parameters.

