Introduction
Opacity Masks and Clipping Paths are two of the most used tools in my workflow. They allow me to easily reveal or hide artwork without deleting any paths. As in all digital arts, it's best to design your workflow to allow for maximum editability. It is inevitable that either myself or the client will change their mind through the process and this technique allows for easy revisions and edits, leading to less stress and happier clients.
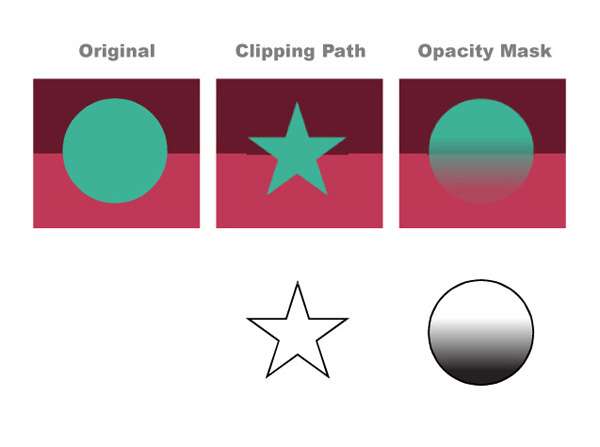
First let's define the difference between a Clipping Path and an Opacity Mask:
- Clipping Paths are Binary (on or off) operations applied against all paths/objects within a layer. This can even include sub-layers with separately defined Clipping Paths.
 Opacity Masks are gray-scale Maps applied against individual paths/objects only. The only exception is that an Opacity Mask may be applied against a set of objects if they are Grouped.
It may be easier to understand with this simple example:
To the left is the original art with no opacity or clipping applied.
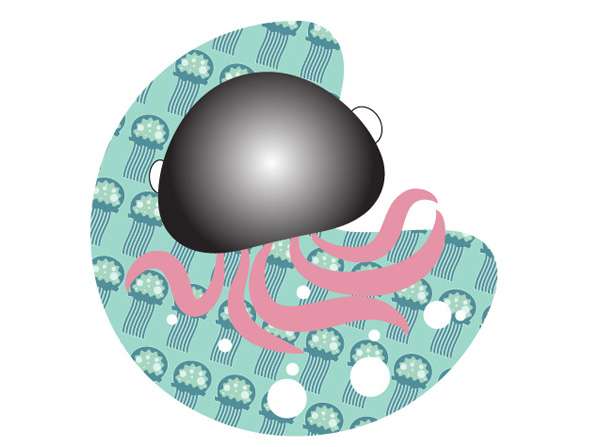
In the middle I have applied a star shaped Clipping Path to the layer containing the turquoise circle path, shown below. Because Clipping Paths is a yes or no concept, the operation only recognizes if there is or if there is not a path. The circle is revealed where there is a path, and hidden in the absence of that path.
 To the right I have applied an Opacity Mask to the turquoise circle path. Because Opacity Masks recognize the full range of black to white, I used a gradient to show the range of values between full opacity and no opacity, something we will do again in just a bit. Of course we can create Opacity Masks of any solid shade of gray to assign different percentages of transparency/opacity. The default settings for Opacity Masks are: white is visible, black invisible, all the grays in-between relate accordingly.
Part 1: Clipping Paths
Clipping Paths are a great tool – I use them for 2 primary reasons:
- Cropping an entire piece of artwork to the Destination. Many times I will have artwork that extends well beyond the dimensions desired for the illustration, but I Clip the artwork to the correct dimensions plus the appropriate bleed.
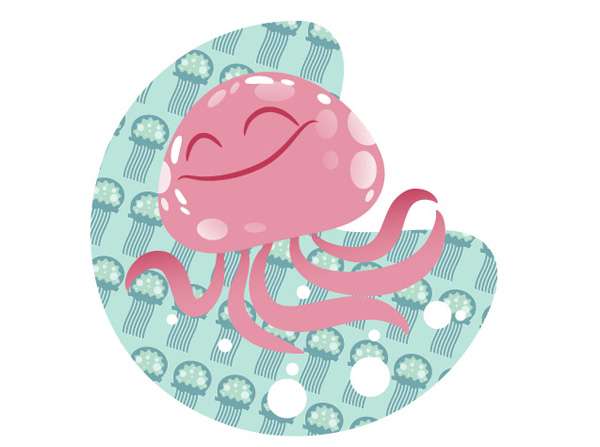
- Revealing patterns, textures, or backgrounds within an area (and thus excluding it in other areas) without deleting any paths or objects
Step 1
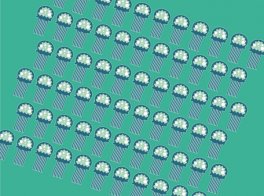
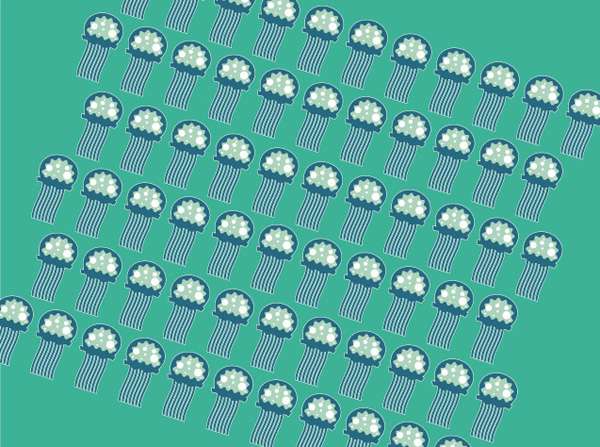
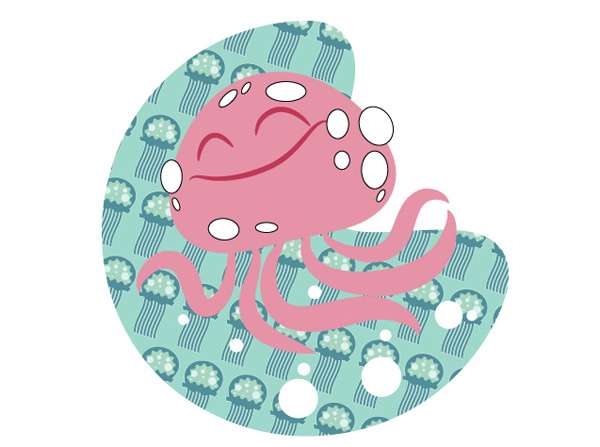
For this demonstration I'm going to Clip the below background to a specific shape. Both the turquoise and the jellyfish are in the same Layer.


 The Grob G 115 is an advanced general aviation fixed-wing aircraft, primarily used for flight training. It is built in Germany by Grob Aircraft (Grob Aerospace before January 2009).The E variant with a 3-blade variable pitch propeller is in Royal Air Force service...