 Perhaps the thing I most often use the Gimp for is to remove a background. It is quite simple and fast once you are familiar with how to do it. This tutorial will focus on just the basics. It will show how to remove a single color background (this is the easiest way to remove a background).
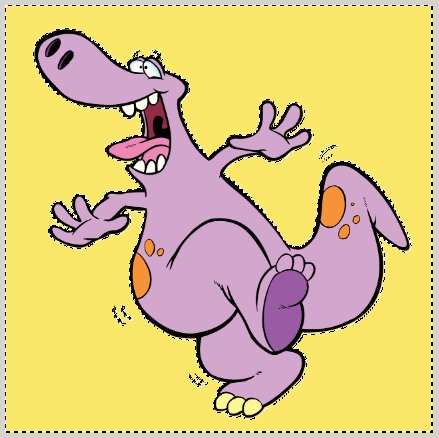
Here is the image we are working with. On the right side of the window, you will right click the layer and "Add Alpha Channel."
Once you have the image you want, you will open it up in the Gimp. The very first thing you will want to do is "Add Alpha Channel." You will get this option by right clicking on the image layer (found on the right side of the Window). Near the end of the list you will see "Add Alpha Channel." Click on it. (There is a possibility that this is grayed out, in which case the Alpha channel has already been added and you don't need to do anything.)
Adding the alpha channel is what allows us to remove the background. Otherwise we would be stuck with a white background.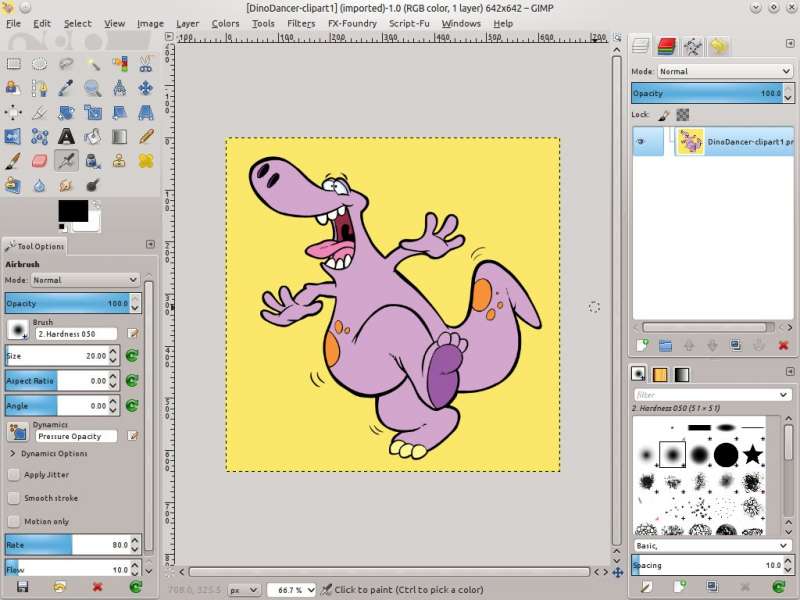 the alpha channel has been added, we will select the Fuzzy Select Tool (It looks like a magic wand. You can also press U to select that tool.)
After we have selected the tool, I like to go to the tool options and enable "Feather edges." Feathering edges is what gives us a nice smooth object. If we do not feather the edges, the edges of our object will be pixelated and will not look good.
Feathering edges gives you an option to adjust the radius (this determines more or less how smooth the transition will be).
 is, the higher you will want the radius. Because the image I am editing is quite small, I turned the radius down to 3.
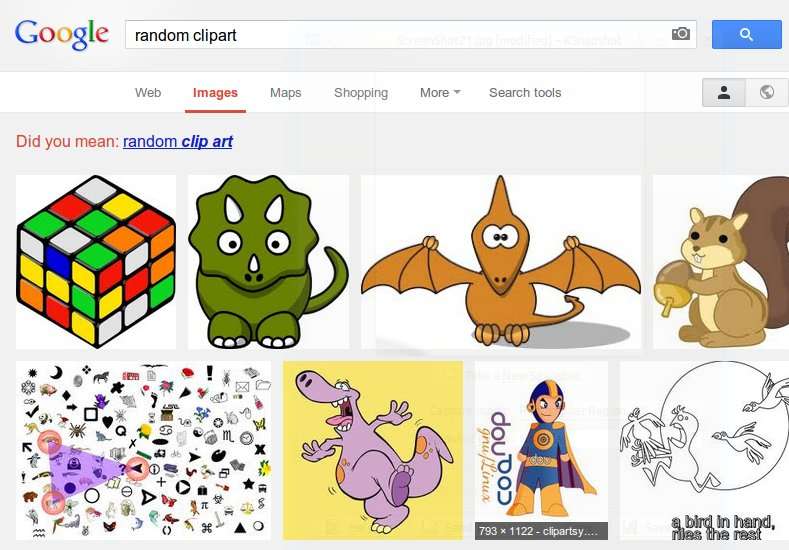
After we have adjusted the radius, we can now select the background. This works very well because the background is a consistent color. If you are looking for clip art online, it is wise to be mindful of the existing background. You can save yourself a lot of time if the background is a consistent color.
You can now see that the object is selected. The black and white dashed lines (marching ants) represent the area that is selected.
In this picture you can see a closeup of the hand. Notice how the marching ants go around the black of the hand. Many of the pixels still have a dark yellowish color to it though (this is a feathered edge. The transition between two colors). This would look a bit weird if I put this image on a white background. To get rid of this, I want the selection to be a bit closer/tighter. To do this, I will press and hold the shift key while I press the selection again. When you press shift, you should see a + sign next to the magic wand (fuzzy tool). This means that it is expanding, or adding to the selection.