In a very green fashion, this tutorial will show how to add exciting art to brick walls, or any wall image for that manner.
There are several things needed to start with.
A brick wall image. As long as there is enough unmarked area on the wall, a brick texture or urban building wall will work well.
Keep in mind the size relation to the art you will be adding. Try to strike a balance between the size of the bricks in the pattern and the amount of detail in the image.Your creativity, along with the image you'll put on the wall, should determine whether the wall should be a simple texture pattern, an urban building wall or even an interior wall.
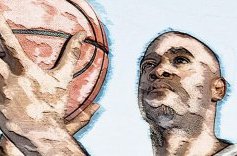
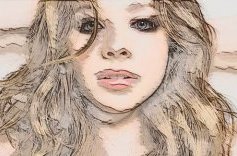
Next, you'll need the image that will be 'painted' on the wall. Make it big and bold. Sports images, portraits and images with action are great. Images full of color that have large recognizable areas work the best. Here are some examples of online wallpaper images that are suited to for the painted treatment.
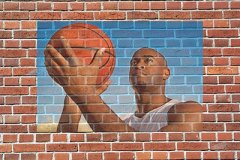 Once you have the image to be used, we have to 'degrade' the appearance of the image. If the image were simply superimposed on the bricks, it would look both flat and not very realistic.
In order to turn the image into a more realistic texture for the wall, we'll use a Pencil Pixels Photoshop script to turn the image into a plaster like appearance - This plaster script is a FREE Download available at.
Scripts are as easy to use as actions. In Photoshop, simply select from the menu
File --> Scripts --> Browse and select the Pencil Pixels Plaster script.
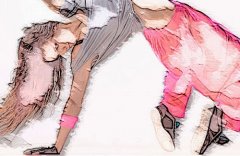
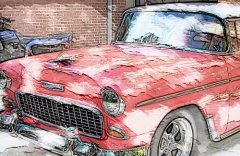 Lets see what the effect looks like on our sample images. Here you can get the feel of how the end result will be.
The effect provides a roughness that will create more of a realistic wall texture. Run the Plaster script on your original image.
So, now to compose the graffiti art. There are three images to bring into Photoshop, a brick wall or texture, the original image and the Plaster effect on that image.
We are going to layer these elements and change the Blend Mode of these layers to create the effect.
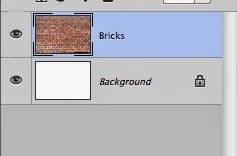
1) Open or paste the brick texture image. This image should be larger than the "paint" image you are using.
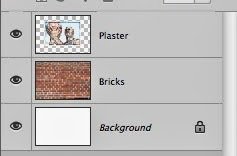
 2) Second, paste the Plaster effect image in the Photoshop document.
3) Select the this layer (that has the Plaster effect) - Change the Blend Mode to 'Overlay' and the Opacity to 83%
4) Duplicate this layer. The layer can be duplicated from either the Layer Pallet upper right drop down menu or the Photoshop menu Layer --> Duplicate layer …
5) Change the Blend Mode of this layer to 'Darken' and the Opacity to 82%
6) Paste the Original image into the document
7) Change the Blend Mode of this layer to 'Color' and the Opacity to 100%
The resulting image is ready and should look similar to the one here.
You can leave it like this or carry it a step further.
First, in the Layer Pallet window, create a new folder by clicking on the folder icon.
A new Group folder appears.
Next select the 3 images below the folder (the Original and the 2 effect layers, by Cmd clicking (for mac) or Control clicking (for Windows) each layer.


