 , allowing us to turn any photo into a jigsaw puzzle! Or at least, we’ll be creating the illusion that the photo is made up of small puzzle pieces, although I suppose you could print the photo afterwards, cut around all the pieces with scissors and make an actual puzzle out of it, but as I like to say, why fumble around with reality when faking things in Photoshop is so much easier.
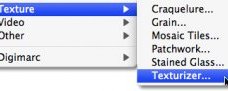
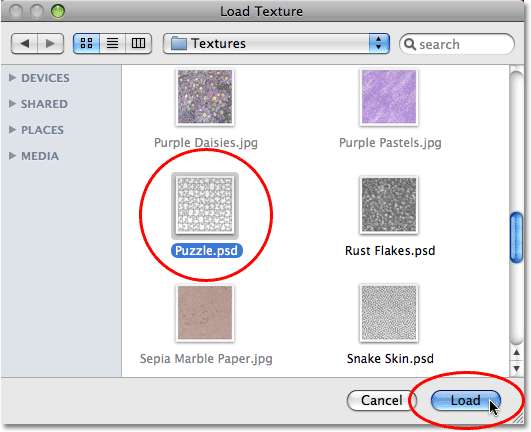
As we’ll see, much of the work for our puzzle effect has already been done for us thanks to Photoshop’s Texturizer filter and a free texture that Photoshop ships with, although we’ll need to load the texture in ourselves, which we’ll learn how to do. We’re going to take things a bit further than that, though, and see how to make it look as if some of the pieces are still missing, giving our puzzle a "work in progress" appearance.
I should mention up front that while this photo effect is very easy to do, some of this tutorial involves using the Pen Tool, and since explaining how the Pen Tool works in Photoshop would require its own separate tutorial, I’m going to assume here that you’re already familiar with how to use it.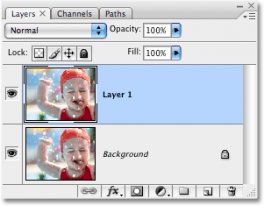 The Pen Tool tutorial which you can find in our Photoshop Basics section.
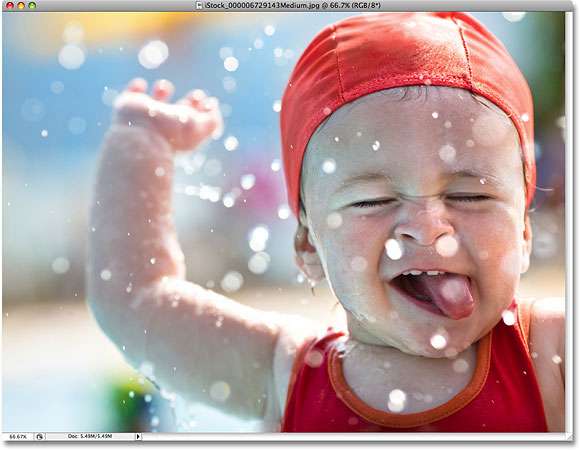
Here’s the photo I’ll be using for this tutorial, a little guy who’s obviously pretty psyched about having his photo turned into a puzzle:
The original photo.
And here’s how it will look with our Photoshop puzzle effect applied:
The same image after applying the Photoshop puzzle effect.
 Let’s get started!
Step 1: Duplicate The Background Layer
With our photo newly opened in Photoshop, the first thing we need to do is make a copy of our Background layer, which is the layer that contains our photo and is currently the only layer we have. Making a copy of this layer will allow us to do whatever we want to our image without harming it, since we’ll always have the original on the Background layer to fall back on if needed. The easiest way to make a copy of a layer is by using the keyboard shortcut Ctrl+J (Win) / Command+J (Mac). If we look in our Layers palette after pressing the keyboard shortcut, we can see that we now have two layers. The original Background layer is on the bottom, and a copy of the layer, which Photoshop has automatically named "Layer 1", is sitting above it:
 The Layers palette showing the newly created “Layer 1″ sitting above the Background layer.
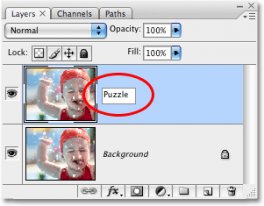
Step 2: Rename The New Layer “Puzzle”