 In this tutorial, I will touch on the Photoshop filter - Plastic Wrap. The Plastic Wrap filter is one of the most useful special effects tool Photoshop has to offer. Use it to make create beads of sweat on an athlete, to just about anything that dribbles. Oh, and if you really want to, you can use it to draw shiny dripping paint on the can. In this work through, we're going to use this technique to create a plastic wrap on a candy.
Step 1. Create the Candy
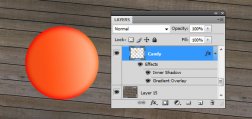
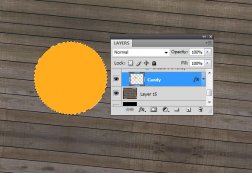
You may prepare a solid colour background or the one similar to the bottom.
Create a circle in any colour.
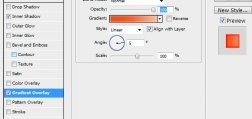
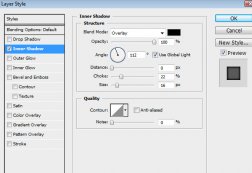
Right click > Layer Properties > Inner Shadow. Adjust to the settings below.
Add a Gradient Overlay, adjust to the settings like below.
Step 2. Create swirl in Illustrator
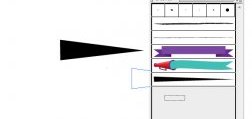
Open Illustrator, use the Pen tool and draw a rectangle like the one below. We will be using this shape as an Art Brush.
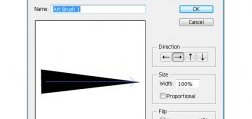
Now CLICK and DRAG the rectangle into the Brush Panel. You will be prompted by a pop up box. Choose New Art Brush and click OK. Choose the direction of the brush and click OK.
Now use the Spiral Tool, create a spiral.
Select the spiral, and click on the Art Brush which you have just created.
Step 3. Combining Swirl and Candy in Photoshop
Copy and paste the swirl as a smart object back in Photoshop. Add a mask, so that the swirl fits nicely on top of the candy.
Right click > Layer Properties. Add an Inner Glow and Gradient Overlay to achieve similar to the bottom.
Step 4. Adding Subtle Texture
 Add in reflections. Draw 2 circles and 1 cresent. Bring down their opacity. You will get this.
We are now going to add in a subtle texture to the lolly. Add a new layer, Go to Filter > Render > Clouds. Then go to Noise > Add Noise and adjust to the settings below. Change the blending mode to Overlay.
Step 5. Adding the Candy stick and Plastic Wrap
Draw a thin rectangle and add a gradient overlay to it.
Give a slight warp to the candy so that it looks more natural.
Using the pen tool, draw the wrapper and fill it in grey.
Use the Dodge and Burn Tool and create highlights to the wrapper.
Go to Filter > Artistic > Plastic Wrap
Change the blend mode to Screen and bring down its opacity. Duplicate the layer and change blend mode to Overlay. Play around with the opacity levels to achieve the below.
Step 6. Final Touches and Details
Set the brush tool to a light brownish colour to paint the string. To add in more depth, use a darker brown and paint over the edges.
Add in a Drop shadow so that it looks more realistic.
Plastic Wrap Hot Tip:
Performing a filter such as Plastic Wrap will change the look of the base layer completely. Thus, always duplicate a copy of that layer before applying the filter to it, so that you can make changes if you need later.

