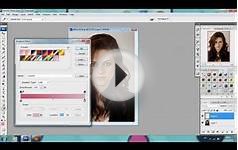
 So, Ive stumbled onto a "new" process of adding textures in Photoshop. Its all brush work and the whole process is probably already done by many, but its a "new to me" thing that allows me to get exactly the look im going for and not be at the mercy of the brush im working with. Instead of using 1 brush and "stamping" it onto a layer, i will use multiple brushes with different opacity/flow settings and sizes. This allows for greater control over the final result and just by using a mouse and the Brush Presets defaults.
STEP 1: Background Prep
It would look really odd to have a textured design on a flat color, so i always have a textured background when doing this. Most of the time, i blend textures and/or images together. Here, ive used 2 textures on top of a solid color, "Desaturated" the image, set to "Multiply", and lowered their opacity to around 20% each. I'll also use gradients of black/white and color over the top of the image or Lens Blurs, but i didnt go that far here.
 STEP 2: Placing the Art
I recommend placing your art as a Smart Object into PS, if it is vector. You can then scale it up or down any time and not lose any resolution. It will need to be pixels if you want to warp it in any way though. Once its placed, just find the appropriate size (i made it a bit larger that usual for visibility reasons) and add a Layer Mask. The mask is where we will do all the dirty work.
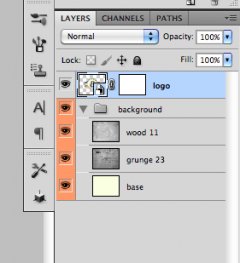 STEP 3: Brushing the Clean Away
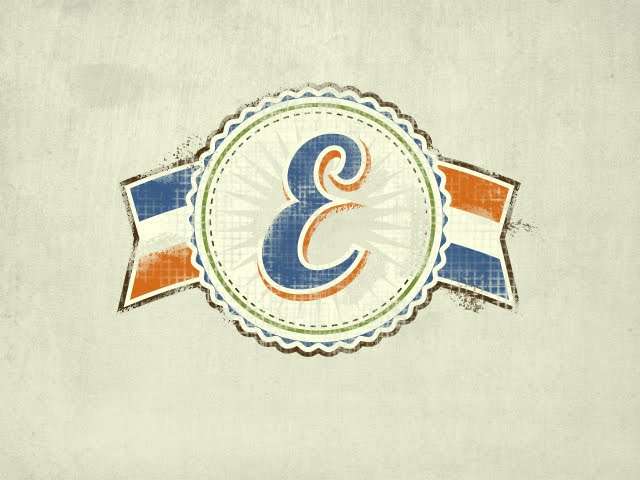
My favorite set of grunge brushes is the Dirty Grid set from ThinkDesign. you can get them for free here: DIRTY GRID. The first image above just shows what i'm applying to the Layer Mask. (make sure you are in the Layer Mask and painting black to "remove" pieces of the logo). The 2nd image shows the overall look im going for. i use the brush on 100% opacity/flow and go a little bit extreme with it. Thats the point, because we're going to take some of that away next. No need to mess with other brush presets here. I also alternate the size of the brush. Always click and never drag the brush.
STEP 4: Edge of Destruction
If this logo were a sticker or paint on a wall, you would probably see some destruction along the edges after some time. Thats the effect we're going for here. Just take one of the basic chalk brushes on 100% opacity/flow (still in the Layer Mask) and drag it along the edges of the logo. I also did it inside the logo along some of the hard edges. Remember at this point its better to take away too much than not enough.
Source: brandmooreart.blogspot.com
More about Applying Textures in Photoshop
Image Ready to DreamWeaver Question...
by sfchick7Hi there,
I am working on a website. I designed the layout in Photoshop, sliced it up in Image Ready and then brought the slices and html into Dreamweaver.
So, I have a background pattern that I want to tile. So, I in Photoshop/Image Ready, I deleted the background and my text and images are placed with no background. I sliced up everything in Image Ready and planned to add the tiling background in DreamWeaver..But there was a PROBLEM..
When I brought in the slices from Image Ready, it somehow added a white background to every image. So it covers up the tiling pattern I set as a background in DW
Tutorial Photoshop - Como usar degradê e pattern
Scanlines and Patterns | Photoshop Tutorial
CorelDRAW X7 review: Customizable features make this robust design program .. — PCWorld
.. purchase, as well as a $25 monthly subscription. People miffed by Adobe's wholesale move to subscriptions will find a great alternative here. ..
Galaxy 61 Delivers Show Open for VH1's 'The Fabulous Life — Animation World Network
VHI recently called upon Galaxy 61 to create a show intro for the new 2014 season of The Fabulous Life, the hit series that reveals the extravagant places, possessions and pastimes of pop-culture's most famous celebrities. The Brooklyn-based ..
Hunterdon County Polytech students bridge the gap thanks to local Rotary Clubs — Hunterdon County Democrat
This year's Job Fair, on March 25, attracted the Dave Gansfuss Allstate Agent for an agency logo; G&H Publishing and author Katherine Kurz for children's book illustrations; Artiste Salon for a new logo, brochure and social media materials; St.
FAQ
Applying textures to pictures using photoshop?
Does anyone know of any good tutorials for applying textures to photos for icons on photoshop cs3 extended? i have a tutorial:
http://crazykira-resources.deviantart.com/art/How-To-icon-textures-72541897
that uses textures but i don't know how to
a) get the textures on photoshop
b)apply them to an image
I would appreciate any tutorials or help. thanks. (prefferably some with pictures since i'm somewhat new to photoshop)
You import the textures into your materials palette(colors, gradients, textures, fills, etc...) and apply them from there, you can choose a color for the textures and the opacity. Hope this helps
mavin
How can I apply a texture to an image with Photoshop?
I'm trying to texturing a photo using Photoshop CS with two images (my photo and a texture). An example on flickr.com:
http://www.flickr.com/photos/happycaroro/2257434444/
Can you explane to me how to obtain a texurized image like the example?
On the top tool bar where it says FILE, EDIT etc: CLick the button that says FILTER Then click Texture there will be a bunch of options. Once you click one it will open a box that will show folders that say artistic, brushstrokes, etc. Look trough those and you can find the one you like. I dont no whcih one to click that will give you the effect like in the picture. Hope i helped.
 So, Ive stumbled onto a "new" process of adding textures in Photoshop. Its all brush work and the whole process is probably already done by many, but its a "new to me" thing that allows me to get exactly the look im going for and not be at the mercy of the brush im working with. Instead of using 1 brush and "stamping" it onto a layer, i will use multiple brushes with different opacity/flow settings and sizes. This allows for greater control over the final result and just by using a mouse and the Brush Presets defaults.
 STEP 2: Placing the Art