Step 1 – Setting Up the Parchment
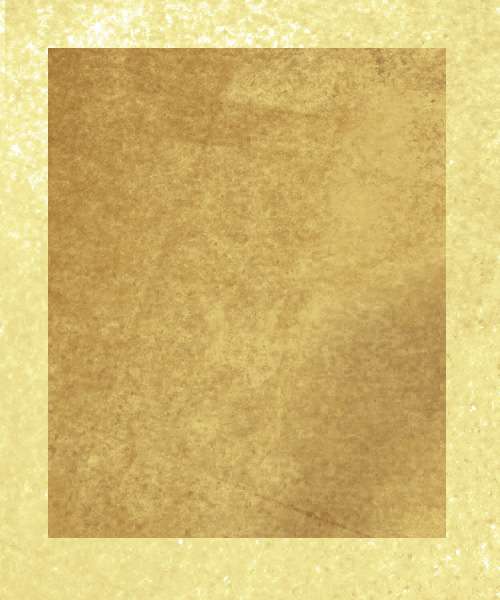
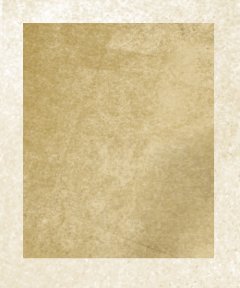
Open a new document 500x600px. Create a new group (Layer > New > Group) and label it Parchment. Create a new layer and place it inside the group. Place guides horizontally and vertically centered in the document. Make a selection 400x490px using the rectangular marquee tool and fill it using the color #e9dbba.
Groups and Guides
 When a layer is placed inside a group it will become tabbed to the right, this way you know it is in the group!
To center the guides, select the entire document (Ctrl+A) and contract it by any amount (Select > Modify > Contract). Enable your rulers (Ctrl+R) and drag guides out until they snap in the center of the selection.
Step 2 – Dirtying the Parchment
In order to continue with this tutorial, you’re going to need some Grunge Brushes. Grunge brushes can be used to imitate dirt and decay. To learn how to install brushes.
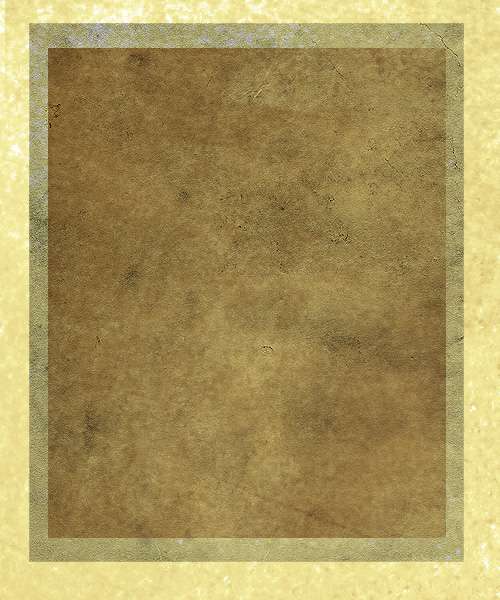
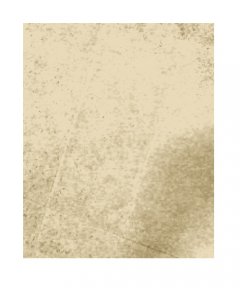 On a new layer inside your Parchment group, use a dark brown color like #735c27 to dirty the parchment. Don’t overdue it!
Then create another new layer and use a lighter brown color like #ab8e4a to create some more dirt.
Step 3 – Adding Texture and Color
Create a new layer and fill it with a dark brown color like #5f470d. Then set the blending mode of the layer to Vivid Light and set the opacity to 30%. This will help give our parchment a nice brown weathered color.
 Now we need some paper texture. There are some great ones in the post here on Tutorial9. I chose the . By placing it on a new layer, resizing it (Ctrl+T), desaturating it (Ctrl+Shift+U), and setting the layer to multiply, I can give my parchment a more realistic look.
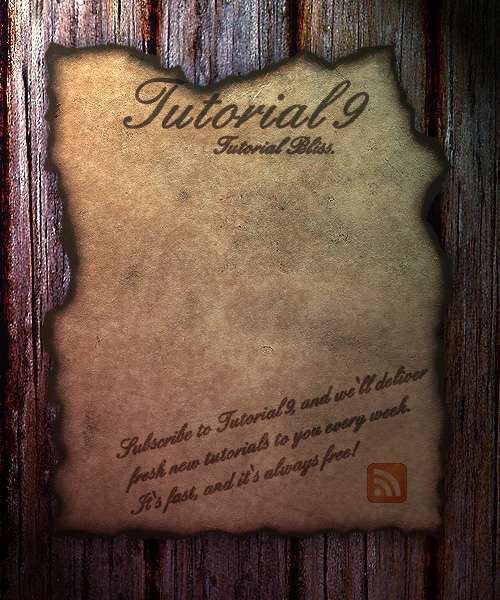
Step 4 – Creating the Edges
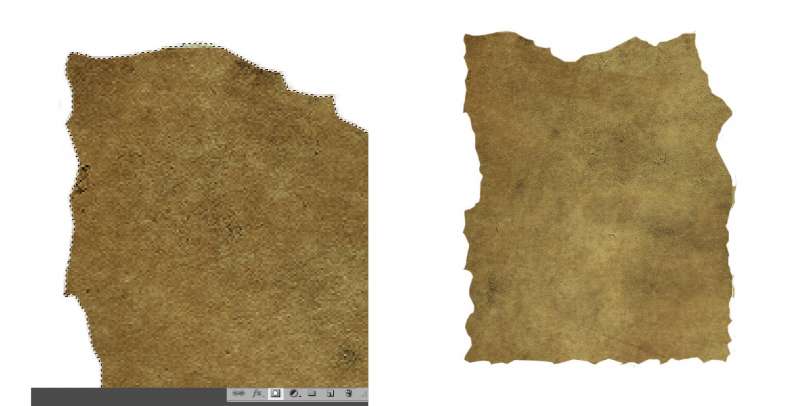
Right now, all of our layers are placed inside of the Parchment group. This will allow us to easily mask all of the layers to the parchment using just one group mask.
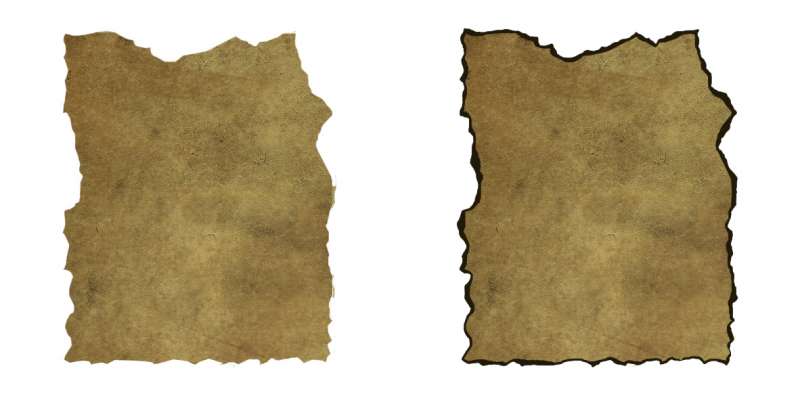
Using the, make a selection around the inside of the parchment that will give it jagged edges. Then apply the selection as a group mask. To do this, click on the Parchment group icon, then click the Add Layer Mask at the bottom of the layer pallete.
Source: www.tutorial9.net
More about Photoshop parchment texture tutorial
Transparent gif
by cdubIn photoshop, keep selecting all the background until you have all of you want to be transparent...Try deleting background and see if the underlying backgroundis already transparent. (If your final image is easy to select, select it directly.). If initially selecting the BACKGROUND, and you need to get a transparent bckgrnd, inverse the selection so the main subject is selected. You may already have a Transparent background (you'll see the checkerboard).
If you don't already have an underlying transparent background, Copy the selected imaged.
Open new file, with Transparent background
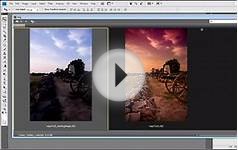
Add Dramatic Color to Photographs: Photoshop Tutorial!
Photoshop Tutorial : Smashed Text Effect ( Commentary )
CorelDRAW X7 review: Customizable features make this robust design program .. — PCWorld
.. purchase, as well as a $25 monthly subscription. People miffed by Adobe's wholesale move to subscriptions will find a great alternative here. ..
Galaxy 61 Delivers Show Open for VH1's 'The Fabulous Life — Animation World Network
VHI recently called upon Galaxy 61 to create a show intro for the new 2014 season of The Fabulous Life, the hit series that reveals the extravagant places, possessions and pastimes of pop-culture's most famous celebrities. The Brooklyn-based ..

|
onOne Genuine Fractals - 1U
Software (Onone Software)
- Over 1% image enlargements with no loss in detail
- Optimized for multiple processors, up to 10x faster than the previous version
- Universal Binary means fast native support for Intel processor powered Macintosh systems
- Texture, Sharpening, and Film Grain controls, as well as Photoshop Action support
- Built-in tutorial videos so you get the most out of Genuine Fractals
|
Hunterdon County Polytech students bridge the gap thanks to local Rotary Clubs — Hunterdon County Democrat
This year's Job Fair, on March 25, attracted the Dave Gansfuss Allstate Agent for an agency logo; G&H Publishing and author Katherine Kurz for children's book illustrations; Artiste Salon for a new logo, brochure and social media materials; St.
Tutorial Photoshop CS5 - How to blend two pictures together
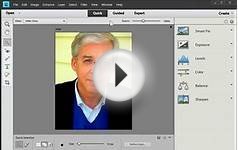
How to Change Background in Photoshop CS4
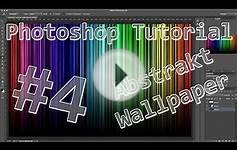
Abstract Wallpaper - Photoshop CS6 Tutorial #4
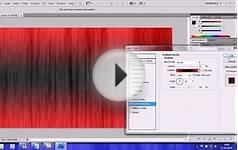
-(Photoshop CS4 Tutorial Background-(HD)-
FAQ
 When a layer is placed inside a group it will become tabbed to the right, this way you know it is in the group!
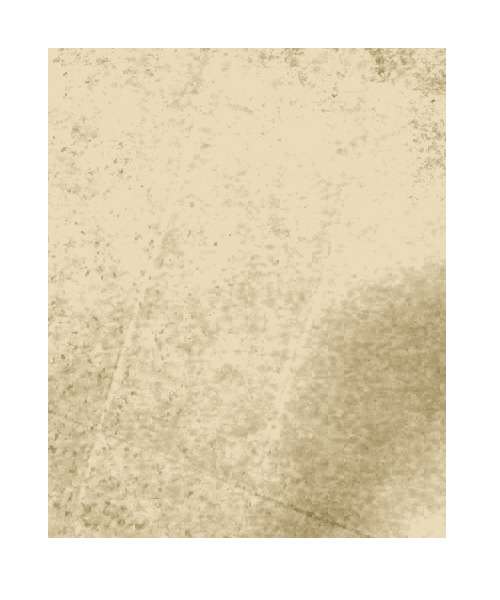 On a new layer inside your Parchment group, use a dark brown color like #735c27 to dirty the parchment. Don’t overdue it!
 Now we need some paper texture. There are some great ones in the post here on Tutorial9. I chose the . By placing it on a new layer, resizing it (Ctrl+T), desaturating it (Ctrl+Shift+U), and setting the layer to multiply, I can give my parchment a more realistic look.