 Written by Steve Patterson.
In this Photoshop Effects tutorial, we’ll learn how to create a simple old paper texture, great for use as a scrapbooking background for displaying old, antique photos! I’ll be using Photoshop CS5 here but any recent version of Photoshop will work.
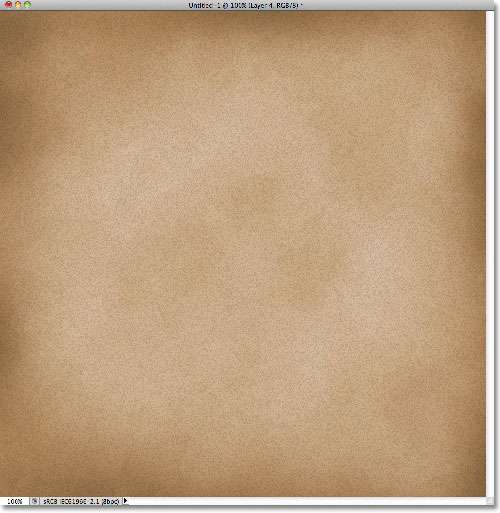
Here’s what our old paper texture will look like when we’re done:
The final result.
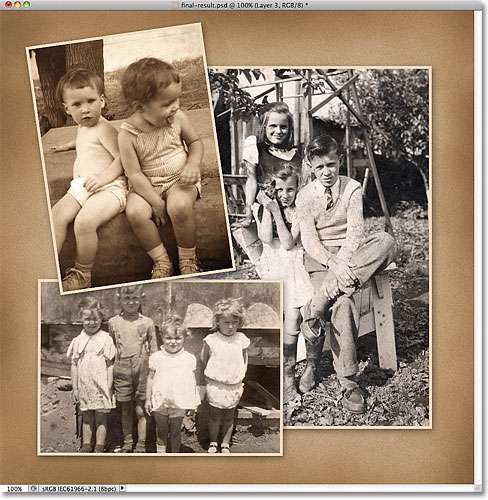
And here’s just one example of how it can be used as a background for a photo layout:
A scrapbooking-style photo layout with the paper texture as the background.
Let’s get started!
Step 1: Create A New Photoshop Document
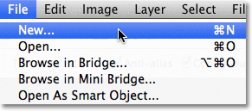
Let’s begin by creating a new document for our paper texture. Go up to the File menu in the Menu Bar along the top of the screen and choose New:
 Go to File > New.
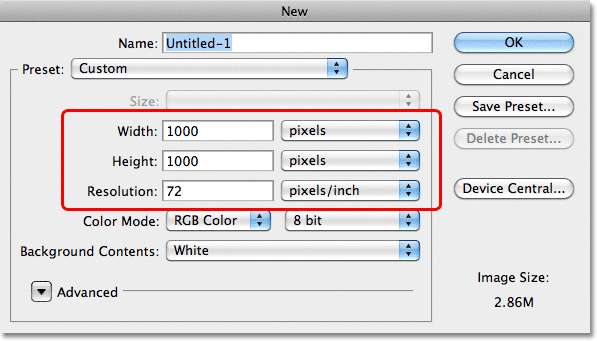
This opens the New Document dialog box. Enter the width, height and resolution you need. For this tutorial, I’ll enter 1000 pixels for both the Width and Height, and I’ll leave my Resolution set to 72 pixels/inch. If you’re planning to print the final result, you’ll probably want to enter width and height values in inches, and you’ll want to set your resolution to 240 pixels/inch or higher. Click OK when you’re done to close out of the dialog box. Your new Photoshop document will appear on the screen:
Enter the dimensions and resolution for your new document.
 Step 2: Fill The Document With A Light Brown
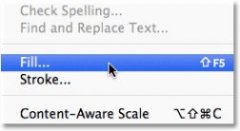
At the moment, our new document is filled with solid white. Let’s change the color. Go up to the Edit menu at the top of the screen and choose Fill:
Go to Edit > Fill.
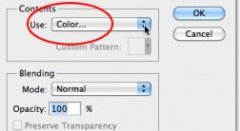
This opens the Fill dialog box. Set the Use option at the top of the dialog box to Color:
Change the Use option to Color.