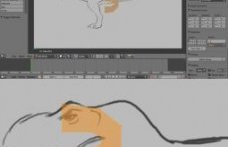
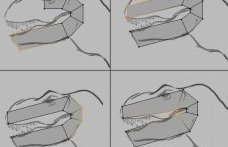
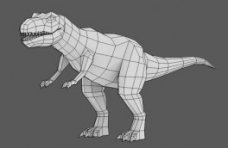
 In this tutorial you’ll learn how to create an awesome low-poly dinosaur using Blender and Gimp. Artist Karan Shah will walk you through the entire modeling process step by step, and show you how to create an optimized model suitable for use in any game engine.
We'll follow things up later this week with part two, where we’ll delve into Uvmapping and creating unique hand painted textures. Though this tutorial is made using Blender, the modeling work-flow is universal in approach and can easily be applied to any other software. So get started after the jump!
Republished TutorialEvery few weeks, we revisit some of our reader's favorite posts from throughout the history of the site. This tutorial was first published in January of 2012.
Additional Files/ Plugins:Step 1
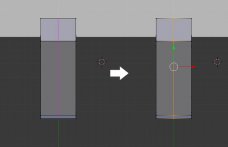
In a new file, select the default camera and lamp, and press "Del" to delete them, leaving only the cube. Press "3" on the Numpad to get a Right Side View, and switch to "Ortho" view by pressing "5" key on the Numpad.
 Step 2
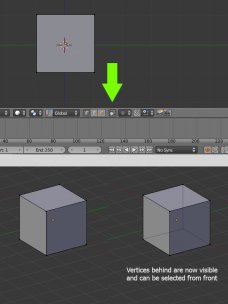
Select the Cube by Right Clicking on it, and hit 'Tab' to enter into "Edit" mode. Also turn off "Visible Selection" so we can select the vertices hiding behind the front ones.
Step 3
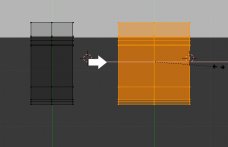
In the right view press the "B" key and drag select the last 4 vertices. The ones behind will also get selected as we have turned off the "limit selection to visible" mode.
Step 4
Press "E" to Extrude, move your mouse right a little bit and Left Click to confirm.
Step 5
 With the new vertices selected, Press "R" to Rotate, and Move the mouse to rotate them around 45 degrees, like in the image. Left click to confirm.
Step 6
Push them down a little bit. Press "G" to move them, and Move the mouse down and left click to confirm.
Step 7
Now Extrude again, and then Rotate and Move the vertices as shown in the image.
Step 8
Extrude again to form a "C" shape. Then select and move the corner vertices to give it roundness.
Step 9
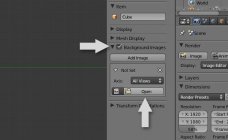
We can now add the background image for reference. With the mouse over the 3D view, Press "N" to bring out the properties panel. Click on the checkbox of the "Background images" panel and the open the reference image. Adjust the transparency and scale to your comfort.
Step 10
Press "N" again to hide the properties panel (you can also press "T" to hide the Toolbars panel.) While in "Edit" mode, select all the vertices and move them over the head area. Press "Z" to toggle the view mode to wireframe, so that we can see the reference behind the object.
Step 11
In Edit mode, move the vertices to create the shape of the head (as shown.) And then Save the file by pressing "Ctrl+S" or "Ctrl+W".

