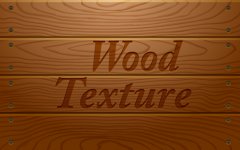
 In today’s tutorial we will take a look at a new way of creating vector wooden texture in Adobe Illustrator. The technique that is covered here has become possible thanks to the use of the WidthScribe plug-in that allows you to work efficiently with variable width paths. Have fun and enjoy our new tutorial!
Step 1
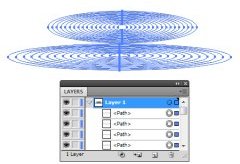
Wood texture has strongly pronounced fibers. These are annual rings, which in longitudinal section may look like ellipses. Let’s create a basis for future texture. Draw two ellipses with the help of the Ellipse Tool (L), as shown in the following picture.
Select the created objects, then go to . Now go to and set the required amount of specified steps in the dialog box.
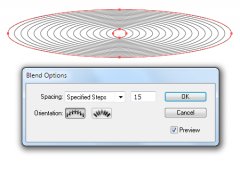
Using this technique, create another blend object, which also consists of two ellipses.
Step 2
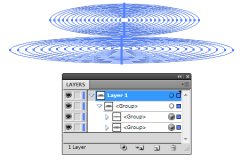
Select all the created objects, then go to . Now we have a set of ellipses of different sizes, which are located in different groups.
Ungroup all the ellipses, to do this, hit twice shortcuts.
Step 3
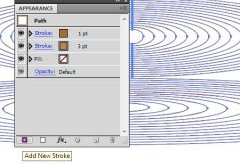
Color the stroke of the ellipses in a light brown color and set 3px width for them. Open the Appearance panel, then add a new stroke to the ellipses by clicking on the Add New Stroke in the bottom of the panel. Color the new stroke in a brown color and set 1 px width for it.
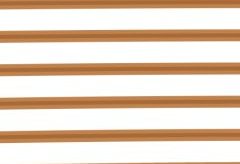
Now all the ellipses have the two-color stroke.
Step 4
Limit the area of the wooden texture. Create a rectangle with a light brown fill.
Duplicate this rectangle, then place a copy above all of the created objects
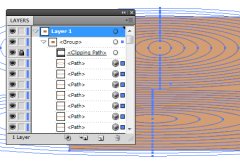
Select all the created objects, then use the shortcuts to create a Clipping Mask.
Step 5
Lock clipping path in the Layers panel.
Take the Warp Tool and deform the ellipses so that the edges are more similar to wood fibers.
Step 6
So, take the Width Bush Tool, then click on Return / Enter key to open the Width Bush Tool Options dialog box. In the picture below the red frame shows the required parameters that must be set.
You can change the rest of the settings during the process of work. I also enabled the relationship between the stroke thickness and the pressure, as I used Graphic Tablet. However, you can create a similar texture by using a mouse only.
Step 7
Select one of the paths of the texture, then select the lower stroke in the Appearance panel. Now make a few strokes with the Width Bush Tool along the path.
Since we have selected the “Edit Focal Stroke Only” option in the previous step, the tool will only affect a light brown stroke.

