Create vector outline in Illustrator has always been laborious work which requires certain skills and accuracy. In this Adobe Illustrator tutorial I will tell you how to get a clean vector outline quickly using a simple method. Find out at the jump!
Tools Setting for Creating Vector Outline in Adobe Illustrator
Technically, there are a couple of ways of creating vector outline in Adobe Illustrator. You can use the Graphic Tablet. ntbrush Tool (B). The settings of these tools are indicated on the figures below.
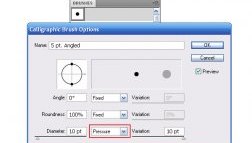
Tick on the Merge Only with Selection in the dialog box of the Blob Brush Tool options if you use this tool. This is necessary if you’re using the described further technique.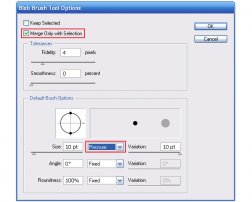 options. I prefer a round brush; its settings are indicated on the figure below.
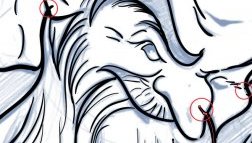
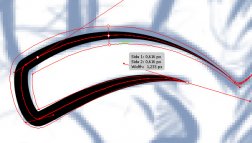
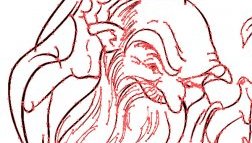
So, take the stylus and start creating the vector outline based on the sketch; reduce the opacity of the sketch for more convenient work. We don’t need to combine the lines exactly on the intersections of the outline. All the unnecessary odds and ends will be deleted later. It is difficult for me to get the proper thickness of the line right away, that’s why all the defects, indicated on the figure, are absolutely normal result of my work process.
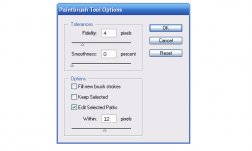 I will give you some more tips which will help you to control the thickness and fidelity of the vector outline in the process of digital painting. For reducing/increasing the brush diameter use the "[" / "]” buttons. To open the Paintbrush Tool Options dialog box press the Enter and type the desired value of fidelity. The higher the value is, the smoother the vector outline will be; the lower value will make your outline more precise, i.e. the outline will display all the micro movements of your hand. It’s better to increase the value for the longer outlines and decrease it for the shorter outlines.


 I never could find the YouTube


 The Grob G 115 is an advanced general aviation fixed-wing aircraft, primarily used for flight training. It is built in Germany by Grob Aircraft (Grob Aerospace before January 2009).The E variant with a 3-blade variable pitch propeller is in Royal Air Force service...