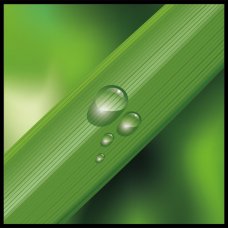
 In this tutorial you will learn how to create all-purpose water drop using the Clipping Mask and gradient fills. Water drops created in this way can be placed on any texture, both vector and raster, and the texture under the drop will look enlarged - just like a real drop of water. Creating the drop only takes a few minutes but adds a level of detail to your illustration that looks great.
Step 1
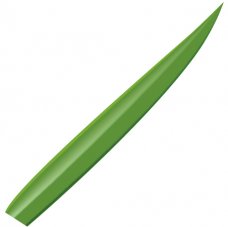
Let's start our tutorial creating a grass blade. Take the Pen Tool (P) and create a closed path, similar to one shown in the figure below.
Step 2
Create a rectangle using the Rectangle Tool (M) and rotate it so that it is placed along the grass blade. The rectangle should be placed in the underlayer below the shape, while the grass blade path should not cross the rectangle boundaries.
Step 3
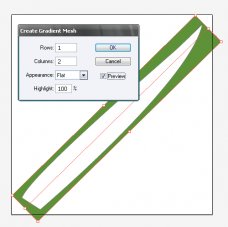
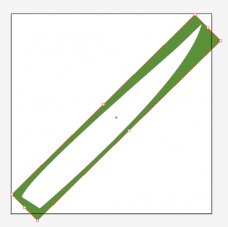 Keep the rectangle selected, go to Object > Create Gradient Mesh, and set the values shown in the figure below.
Select the rectangle and grass blade and go to Object > Clipping Mask > Make.
Step 4
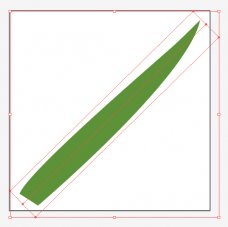
Now proceed to the gradient mesh points. Converge the top points in a single point so that it was located on the tip of the grass blade. It should be noted that the lines of the gradient grid cannot intersect the shape of grass blade, otherwise the shape of its path will be corrupted.
Place the points of gradient mesh so that the Mesh shape as close to the shape of the grass as possible.
Step 5
Take the Mesh Tool (U) and add a few lines to the gradient mesh by clicking on its lower boundary.
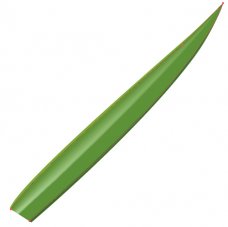
Replace the colors of the created points with different shades of green.
 Step 6
Proceed to create the veins on the grass blade. Take the Pen Tool (P) and create two curves 1 pixel in width each, resembling the shape of grass blade edges.
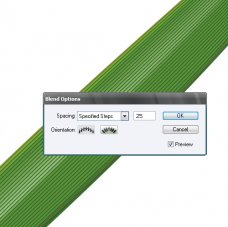
Select these curves and go to Object > Blend > Make. Now go to Object > Blend > Blend Options and set the step size equal to 25.
Step 7
Keep the Blend selected, go to Object > Blend > Expand. We now have a collection of curves of the same width and color. Let's make the grass veins more diversified. Select separate lines using the Direct Selection Tool (A) and change their width in the Stroke palette, within the range 0.75 - 2 pt. To make the veins more realistic, you can apply the Art Brush for them, such as the Pencil Thin for example.
Step 8
Select all the veins and go to Object > Expand Appearance and fill them with linear gradient consisting of two shades of green.
Step 9
Now to proceed to the topic of our tutorial - water drop creation. Take the Ellipse Tool (L) and create an ellipse. Deform the ellipse using the Direct Selection Tool (A) so that we can make the shape as shown in the figure below.

 I never could find the YouTube


 The Grob G 115 is an advanced general aviation fixed-wing aircraft, primarily used for flight training. It is built in Germany by Grob Aircraft (Grob Aerospace before January 2009).The E variant with a 3-blade variable pitch propeller is in Royal Air Force service...