 Custom made seamless textures in Photoshop
- To start of with go to File>New to create a new document.
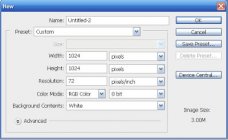
- In the create new document screen I'm using the following settings.
- I set width and height to 1024 pixels with a resolution of 72 pixels/inch. Having width and height the same is common practice but some certain patterns require different dimensions. If you are planning to print the pattern then use inches or centimeters and the resolution should be at least 150 dpi.
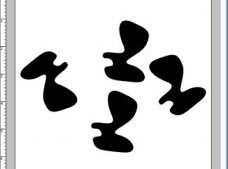
- Working on the centerlines of the canvas create a few shapes like shown below. As long as nothing is overlapping the borders of the document then the next few step are a breeze.
- Make a copy one of the original shapes and select all layers except for the just copied.
- Under the Layer menu select merge layers.
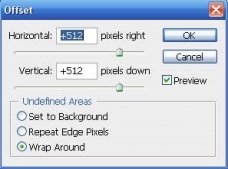
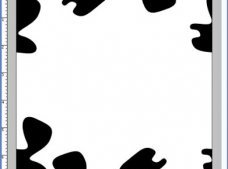
- Under the Filter menu select other>offset. This filter will flip anything from the center to the border. Set horizontal and vertical pixels to half the width and height of the document. verify that the wrap around option is picked.
- Notice the image below after the filter is applied.
- Now copy that original shape a few time and place them around the image like before(just stay away form the borders).
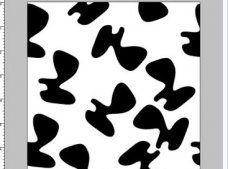
- Finally, merge all the layers and that is what we call a seamless texture. If you don't believe me hit the offset filter a few times and notice how the images don't show any seams.
- To get the below texture I duplicated, rotated, colored, and offset the layers with different pixel dimensions pixels. Once seamless a pattern can be offset by any dimension and still work.

