 24 2010
This is the third tutorial in my four part series dealing with character animation. These tutorials are targeted to beginners wanting to learn the basics of organic modeling, unwrapping, texturing, rigging, and creating a cute 3d monster. In this third part we’re dealing with texturing. You’ll learn how to create and apply textures with Viewport Canvas. I’ll do my best to keep things as simple as possible. I’m using 3ds Max 2011 and Photoshop.
Step 1 What is Texturing?
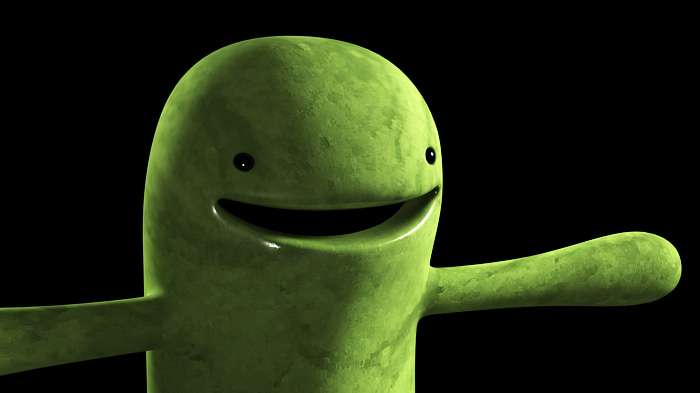
In 3d graphics, texturing means the process of creating and applying textures to the model. In fact, the term texturing consist of two things: UVW mapping and texture painting. UVW mapping was covered in my previous tutorial and this one will concentrate on the texture painting. We’re going to create the texture by using Photoshop and Viewport Canvas. Viewport Canvas is a 3D paint inside of 3ds Max. In the picture below you see the result of this tutorial.
 Step 2 Mental Ray Renderer
We’re going to render the scene with Mental Ray. By default 3ds Max uses Scanline renderer so we have to change that. Change the renderer to Mental Ray.
Step 3 Prepare the Model for Texturing
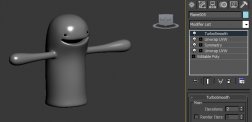
We continue from the unwrapping tutorial. As a starting point we should have the unwrapped model with the Turbosmooth modifier applied. We don’t need the checker material anymore so let’s get rid of that:
- Open Material Editor.
- Select a new (empty) material slot.
- Assign the new material to the monster.
 Step 4 Texturing with Viewport Canvas

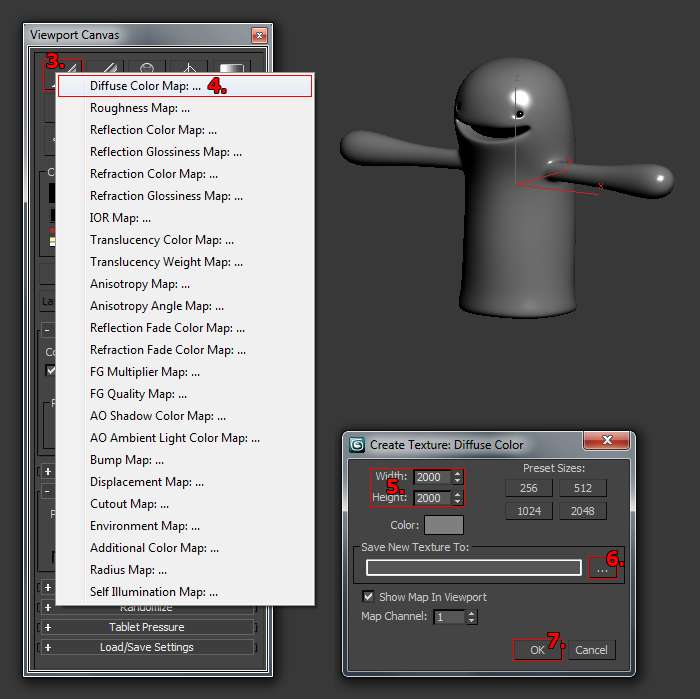
- Select the monster model.
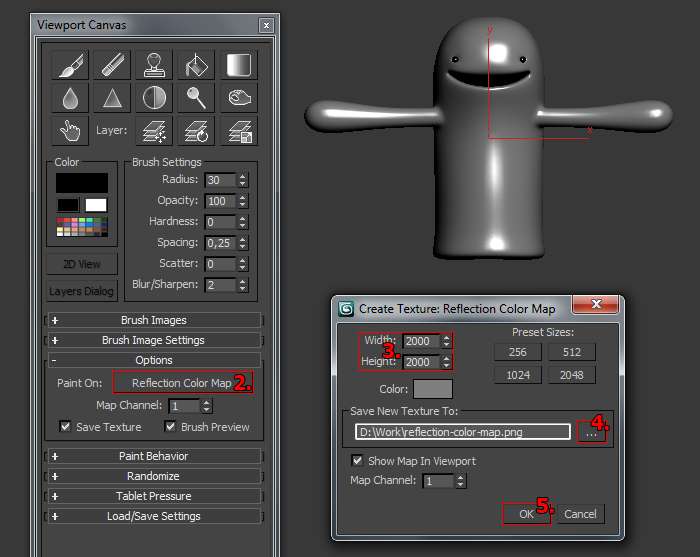
- Open Viewport Canvas.
- Select ‘Diffuse Color Map: …’ from the menu. A new dialog appears.
- Set the size of the texture map to 2000×2000.
- Select the folder for your file, name your file, and select PNG as file format.
Step 5 Starting Texture Painting
Let’s use the Fill and Gradient tools to give some color to our monster:
- Go to the front viewport.
- Select green color ( R103 G132 B58 ).
- Active the Fill tool and click on top of your monster.
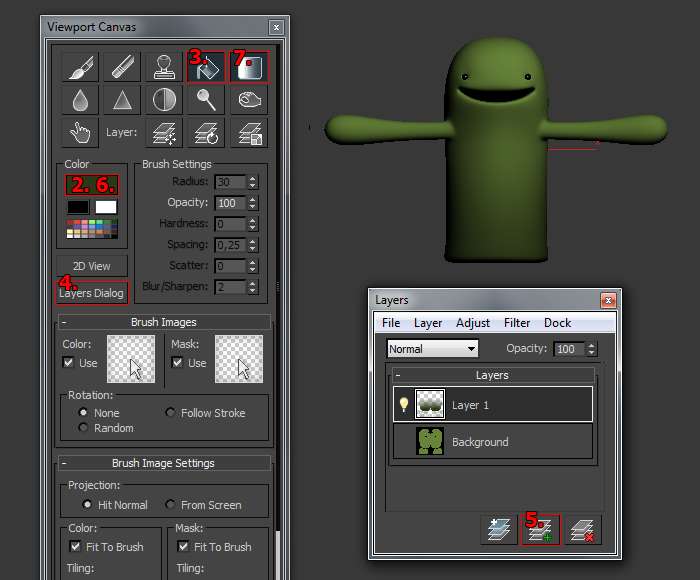
- Open the Layers dialog.
- Create and activate a new layer.
- Select dark green color (R44 G56 B24).
- Activate the Gradient tool. Click and hold on the bottom of the monster, drag upwards, and release when you’re satisfied with the gradient.


 In machine learning, pattern recognition is the assignment of a label to a given input value. An example of pattern recognition is classification, which attempts to assign each input value to one of a given set of classes (for example, determine whether a given...
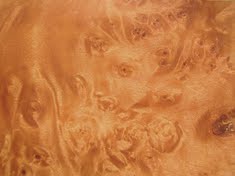 Texture synthesis is the process of algorithmically constructing a large digital image from a small digital sample image by taking advantage of its structural content. It is an object of research in computer graphics and is used in many fields, amongst others...
