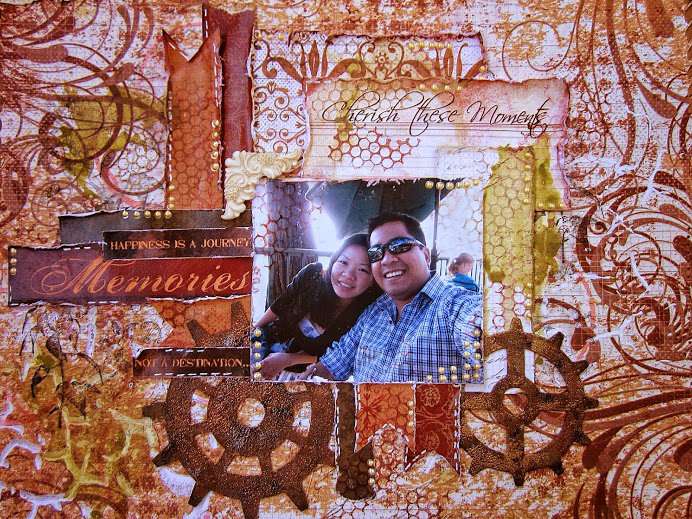
 Hello everybody, it's Thandar here today to host the blog for you. It is starting to warm up and winter is almost over!! Well.. At least in California.. lol. For those who are still having some chilly weather, I thought you might want to stay home and get a little scrapping done. With that being said, I would like to share with you a step-by-step tutorial of how I made this layout.
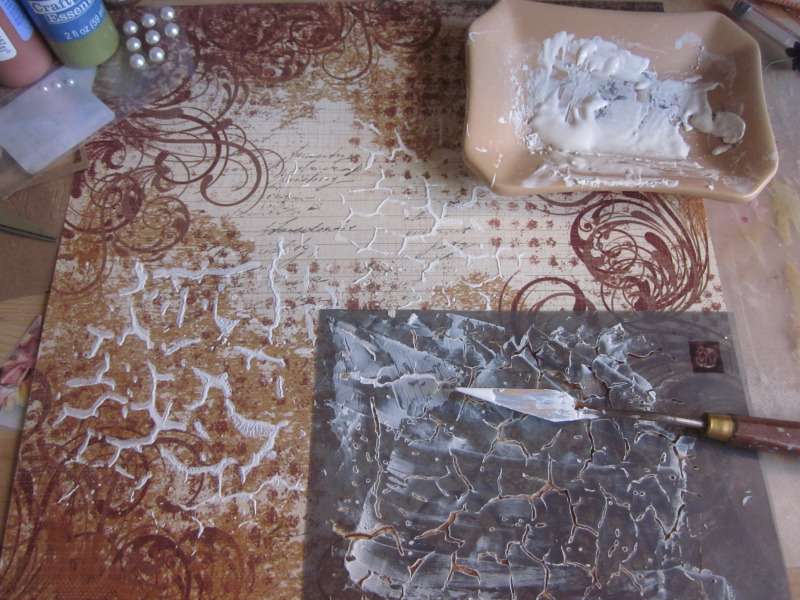
First I have stencil over a 12x12 sheet of pattern paper using some modeling paste. You do not have to use the exact same stencil that I have.
 se any stencils that you have. This will be burried in your background later on.
Then I have stamp randomly over the layout using Midnight Confession Chalk Ink.
 nd.
nd.
Next, I stamped some Maraschino Cherry Ink on my craft mat and splatter some water to make some water color.
I, then, pick up my "water color" with a cap and stamp randomly all over the surface.
I finished up the left over "water color" with paint brush and flick it over the paper to create splatters. So, I do not waste any ink.
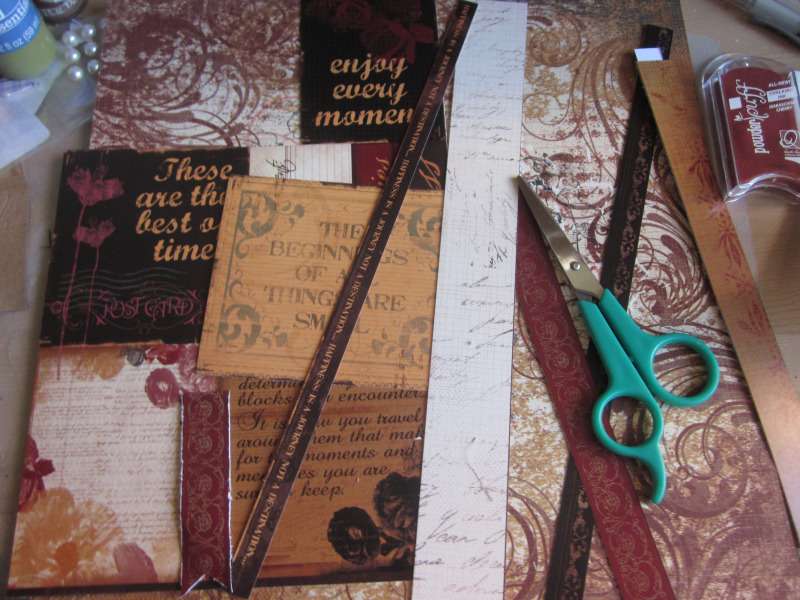
I then cut off the paper strips and journaling cards and distress their edges using my scissors. I, then, inked up all the edges using my powder puff inks. Please see the list of colors that I used in the supply list below.
I layered up and arranged pieces of papers and a couple of die cuts as in the picture shown. I, then, stamped on the surface with a chicken wire stamp using Java and Bloody Mary Inks. If you do not have chicken wire stamp and have other background stamp, you may use them to create different look.
I then created some paint drips and splatter using acrylic paint and stencil. If you do not have a stencil, you may create dripping effect by flicking your brush over the layout and standing the layout upright, so that paint will flow downwards and create dripping effect.
Finally, I trimmed off 0.5 in around all 4 sides of the layout and punch it out at random places using punches that I have in my stash. I, then, roll up the edges with my wet finger (this help soften the paper so easy to roll up) and mat it on another piece of paper.