 Achieving a realistic render can be a challenging task, especially when re-creating a real-world object or scene. In this two-part tutorial, you learn how to build and render a realistic glass of water, complete with accurate caustics in Maya.
Step 1
To start, we need to activate Mental Ray. Go to Window > Settings/Preferences > Plug-in Manager.
Step 2
The Plug-in Manager window will open, look for the Mayatomr.mll plug-in and make sure to activate it. Then you can close the window.
Now we'll start creating the shaders, go to Window > Rendering Editors > Hypershade.
 Step 2
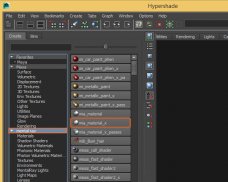
You should see the Hypershade window.
Step 3
Under the Mental Ray materials, search for mia_material_x and click on it to create a new material.
Step 4
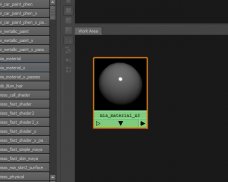
You'll see the shader created in the Work Area. Now we have to adjust its settings.
Step 5
Open its Attribute Editor and rename the material to something meaningful and related to the glass.
Step 6
Mental ray already has a great preset we can use. Click on the Presets button and choose GlassSolid > Replace.
Step 7
 The settings will automatically change, but we still need to make some adjustments to the shader.
Step 8
Change the Diffuse Color to White.
We'll also need to create a texture, I'll show how I created the texture using Photoshop. It has to be a black texture with alpha zones where you would like the glass to become less transparent. It can be very random.
I created a 3800x3800 pixels image.
Then filled the layer with black.
Select the Eraser tool
You can use several different Brush Presets.
Just Erase some parts of the black layer, following horizontal lines to simulate how an old glass looks.
Back in Maya, click on the Texture button next to the Reflectivity option. This will open the Create Render Node window, where you can select File from the list.
Now select the image or texture you are going to use.
Step 9
Go back to the Attributes Editor of the shader, we'll also add a texture to the Glossiness attribute.






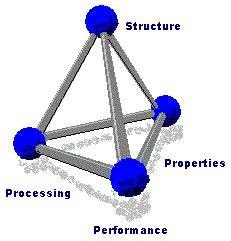 Materials science is an interdisciplinary field applying the properties of matter to various areas of science and engineering. This scientific field investigates the relationship between the structure of materials at atomic or molecular scales and their macroscopic...
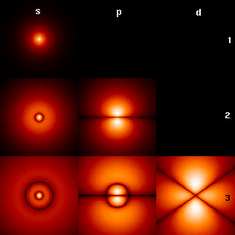 A semiconductor has electrical conductivity intermediate in magnitude between that of a conductor and an insulator. This means a conductivity roughly in the range of 10 to 10 siemens per centimeter (S⋅cm). Semiconductors are the foundation of modern electronics...
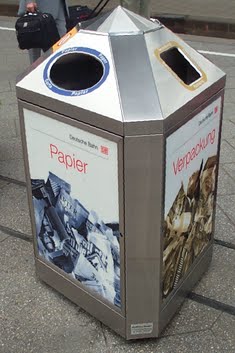 Recycling is processing used materials (waste) into new products to prevent waste of potentially useful materials, reduce the consumption of fresh raw materials, reduce energy usage, reduce air pollution (from incineration) and water pollution (from landfilling) by...