 Hi fellows, this week I’ve brought yet another interesting project for you. Today, we are going to make music player user interface in Photoshop. I’ve made it in Photoshop CS6 but you can use Photoshop CS5. Hope you will have making this interesting project with me like you did last week when we made a camera app icon. So let’s start our tutorial without further delay.
Okay so, let’s note down the things you’ll need.
 Requirements: Noisy basic background (I’ve used same concrete background we used for the realistic metallic logo), metallic surface texture.
Program: Photoshop CS6
Time: 30-40 min
Now before we start our tutorial let’s have a look at the final image.
Step1:
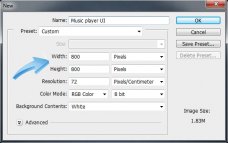
Start your Photoshop and open a new document of 800x800px.
Step2:
Copy and paste first the noisy gray background and then place the metallic texture on it as shown below.
Step3:
 Select Ellipse tool and make a big round circle in the middle with any color fill.
Step4:
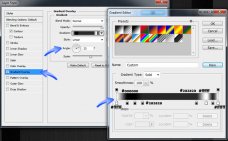
Now right click on the circle layer and go to blending options then select “Gradient Overlay”. Make the gradient shown in the image given below ( I’ve shown the color numbers used to make the gradient). Note the placings of the colors. Make the angle at 23 degrees.
Step5:
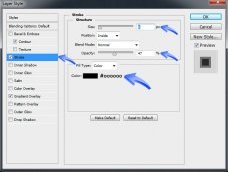
Now we will add a Stroke to the circle of size 6 px, position will be Inside, opacity 47% with black color #000000.
Step6:
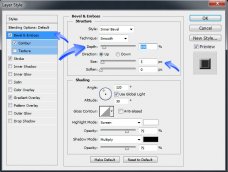
 Now we will give this circle a bit of body and to do that select Bevel and Emboss. Make the settings shown below in the image.
Check on the contour tab and set it to 50% range.
Step7:
So the last effect on the circle will be Drop shadow. Make the settings shown in the image below.
Step8:
Now you will have a shape as shown below.This is the base of our main volume knob.
Step9:
Again select the Ellipse tool and make a round circle and place it in the middle of the previous just 5px smaller with white color # ffffff.
Step10:
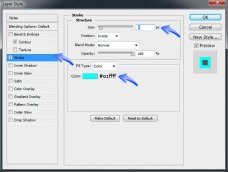
Again we will go to blending options by right clicking on the layer and then select Stroke of size 8px with position Inside and color # 01ffff and 100% opacity.

