Comparison: SEO and contextual advertising

SEO is the main way to drive traffic to a site that has existed since the creation of search engines. Statements that it will disappear began to appear at the beginning…
Photoshop Desktop background Tutorials
It’s that time of the year again, where excitement builds in the hearts of lovers everywhere. Valentine’s Day is indeed a time for many to try their very best to…
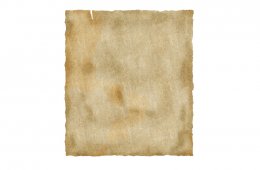
Photoshop tutorial background texture

Written by Steve Patterson. In this Photoshop Effects tutorial, we’ll learn how to create a simple old paper texture, great for use as a scrapbooking background…
Photoshop puzzle texture tutorial
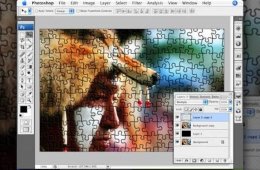
allowing us to turn any photo into a jigsaw puzzle ! Or at least, we’ll be creating the illusion that the photo is made up of small puzzle pieces, although I suppose…
Denim patterns tutorial Photoshop

In this tutorial, we will explain how to combine Photoshop filters, brushes, and vector shapes to create a stitched denim text effect using Photoshop CS6. Let s…
Photoshop parchment texture tutorial
Step 1 – Setting Up the Parchment Open a new document 500x600px . Create a new group (Layer > New > Group) and label it Parchment. Create a new layer…
Torn paper texture Photoshop Tutorials

This post was originally published in 2007 The tips and techniques explained may be outdated. Torn paper is one of the key elements to achieving the distressed /…
IMVU hair texture tutorial Photoshop

How to create human hair in Photoshop One of the most regular requests we ve been receiving lately is for drawing hair texture. Especially with the increasing popularity…
Photoshop tutorial wood texture

Step 1: Setting Up the Document Create a new Photoshop Document (File>New) to be 1500 x 1500px. Step 2: Adding Background Color Select a dark brown color…