 If you want something more unique, open up Photoshop and follow along.
Step 1: New Canvas
Tiling background images can be fairly easy to spot when they’re small so I’m going to make mine fairly large. We’ll be saving it as a JPG so the file size should stay plenty small enough to load quickly on most connections. If you disagree with the large size, simply make yours smaller!
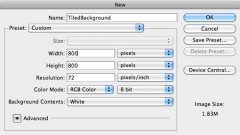
In Photoshop, create a new document that’s 800 pixels by 800 pixels at 72 DPI and in RGB.
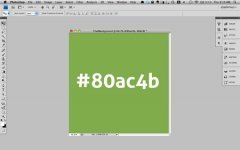
Now fill your canvas with a mid range to dark solid color. You can choose anything you like, but I went with #80ac4b.
 Step 2: Create a Custom Brush
I’ve noticed that bokeh textures seem to be really popular lately I decided to show you how to build one. It’s a good example because it’ll make a texture that’s a little trickier to tile than most.
To start off, create a new document, grab a hard round brush and click once in the center of the canvas to make a black dot. I’ve given mine a slight black outer glow to add to the bokeh effect a bit. Now go to Edit>Define Brush Preset.
Name your brush, save it and switch back to your other canvas.
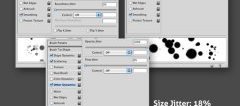
Now select that brush, go to your brushes palette and apply the following options to give it a nice scatter effect.
Ste 3: Paint It
 Now that you’ve got a nice brush to work with, paint in some bokeh. Don’t get too carried away, remember that the more complex it is the harder it will be to go in and fix when we convert it to a repeating pattern.
Here’s the pattern that I came up with:
Step 4: Offset
This is the part where Photoshop takes over and does a neat trick that saves us a lot of time. First make sure your layers are merged into a flat document. Now go to the menu and choose Filter>Other>Offset.
Set your horizontal and vertical offset to half the pixel dimensions of your canvas and select the wrap around option.
Voila! A seamless background texture. Ok maybe not. However, much of the work has been done for us and we just need a little cleanup to make it work.


